When using VS Code you will find a need for a Source Control or Version Management Software. Git is by far the most popular and free software used my many freelance developers as well as corporate giants. Another similar software is TFS or team foundation server by Microsoft. Luckily both are compatible with Azure and so GIT has been the preferred option for those on a budget. In this post we cover how to download and install as well as configure VS Code to use Git in case it isn’t already.
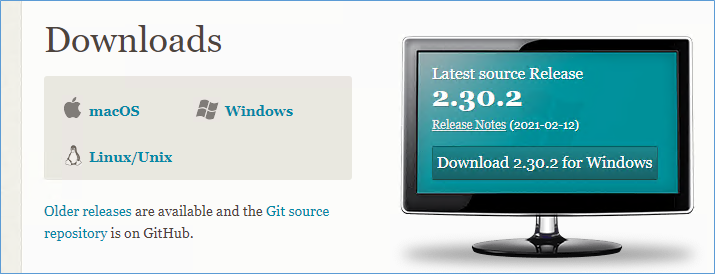
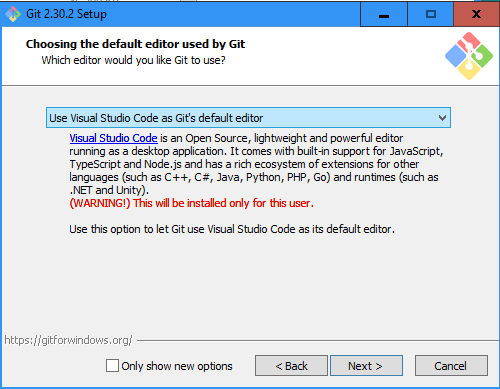
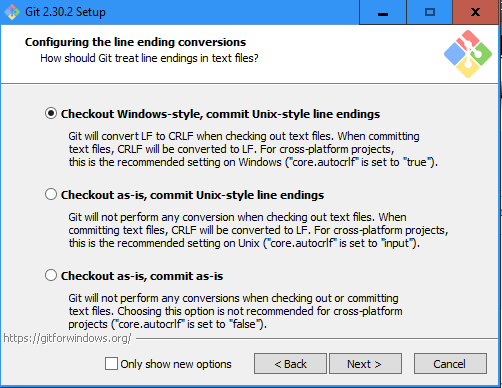
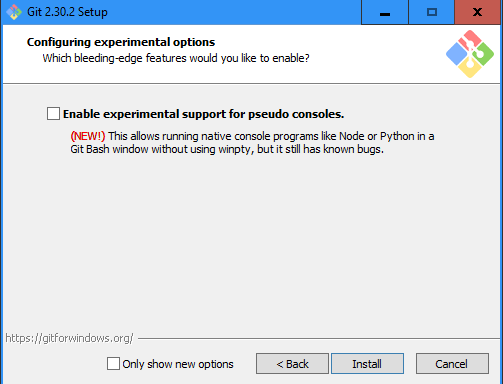
First you need to download and install Git on your machine. Git can be download from this link. In most cases the default option work best and so you can simply proceed by clicking next till the end. There will be one screen as shown below where you may choose VS Code as the default editor if you want.
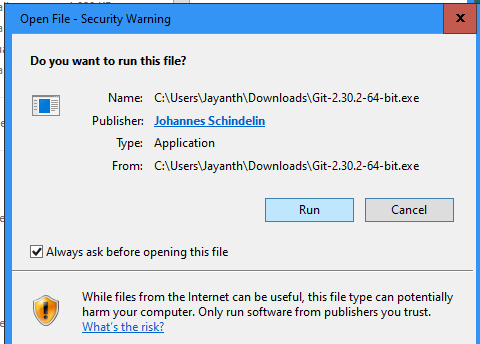
Next you need to run the installer
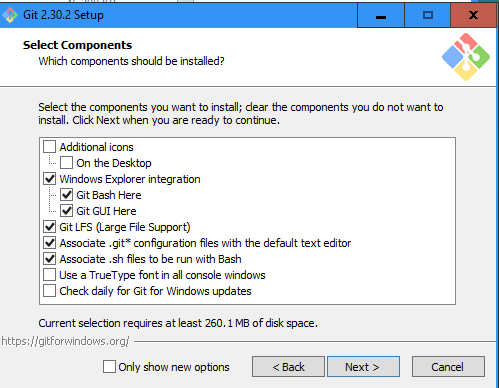
In the below screen choose Visual Studio Code if you would like it to be the default editor.
On the final screen press Finish
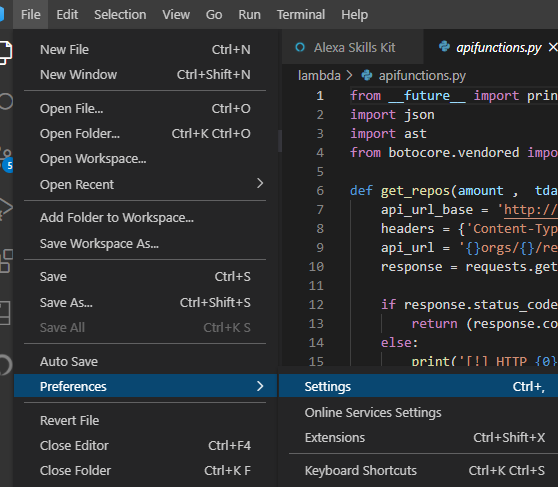
Once Git is Install Open VS Code and Navigate to File> Preferences > Settings
In the search bar on the top type “Git:Enabled” and check the box

Next search for Git:Path

Click Edit settings.json
And enter the below value for git.path, normally it would be blank. The path below will be the default location for your Git installation unless you have changed it during the installation of Git.
![]()
Close and restart VS Code and you are good to go.
Normally an application like Alexa Skill Kit requires Git to be installed since it will clone the Skill to your local machine before it can allow editing via VS Code. Following the above steps will help you get started in no time
Please consider subscribing !