Azure AI Video Index as its name suggests can help create metadata about a video based on its content. The idea being you can upload a video and the AI engine will process the video and audio and then perform tasks like transcribe the audio, identify images, people, text and objects within the video. The same can then be tagged with the timestamp within the video so that you can navigate directly to that part. I stumbled upon this nifty little service when we were searching for a missing kid recently. There was a need to process a large number of CCTV footage but unfortunately this was a manually process since we couldn’t get the actual CCTV footage from shopkeepers etc. The technology is very useful in helping to process multiple videos and catalogue the information available inside the video. Primarily we were looking for a child in a yellow T shirt. The indexer is able to process the image and then catalogue information that can then be search for using a text prompt.
There is a trial version available which has about 40 hours of video for free. An important thing to understand here is that the processing is based on minutes. Processing multiple hours of video can result in a slightly expensive bill mainly if you don’t understand the encoding that is being used with the image. For example, audio will be considered a separate stream video will be considered a separate stream and in video depending on the type of compression you may have up to three different streams within a HD video file. Ten minutes of video could end up being calculated as up to 40 minutes of service usage. At 0.01$/min it is not cheap when you want to do mass processing of hundreds of security cameras etc.
A more common use case that you will find is with regard to training videos where by indexing it you can navigate a specific section within the training video. In the following steps I will be showing you how to set up and configure as well as use the AI Video indexer. The setup is fairly straight forward and you can actually upload and use the video using a non-Microsoft Id as well. This means that once the service is set up people who don’t necessarily have an Azure Active Directory account to upload videos and search information etc. This is very nifty feature because there is a lot of metadata that can be gathered from videos such as this and aerial survey of a disaster site, identifying distinguishing landmarks in a tourist video, time stamp in a training video etc. I’m excited to see what other use cases you can think of with regard to using AI indexer and I believe that there is a lot of opportunity here especially within the YouTube community where videos will be uploaded and transcribed through AI Indexer even though this feature is already available inside YouTube by default. Let’s get dive right in.
Step 1
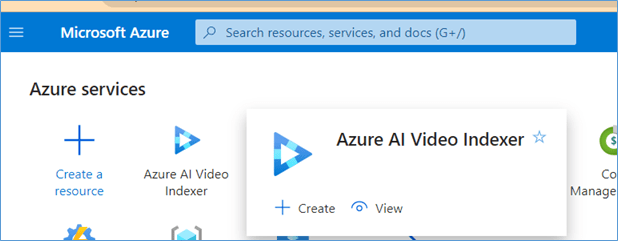
Search for Azure AI Indexer in the search bar of the Azure portal as shown below.
Step 2
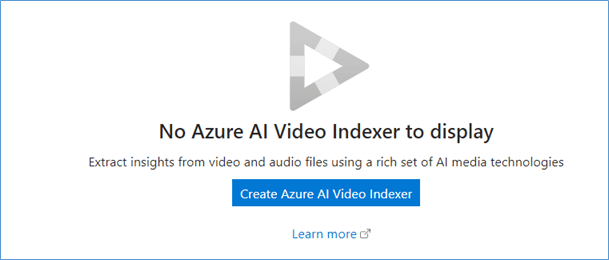
Create a new Azure AI Video Indexer Service by clicking the button below.
Step 3
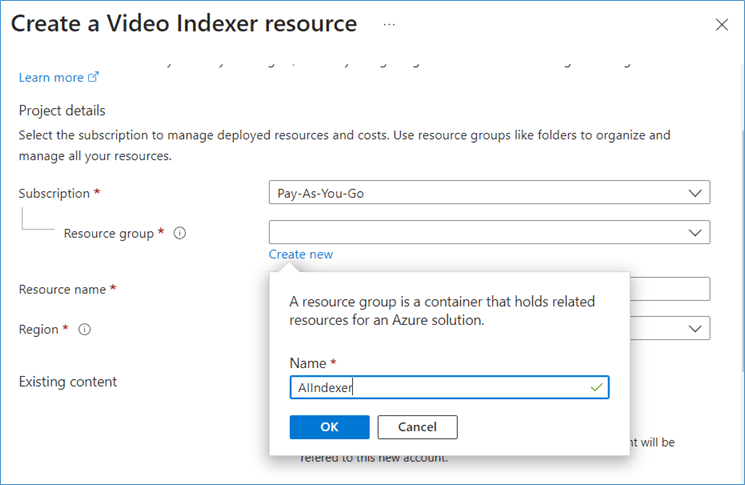
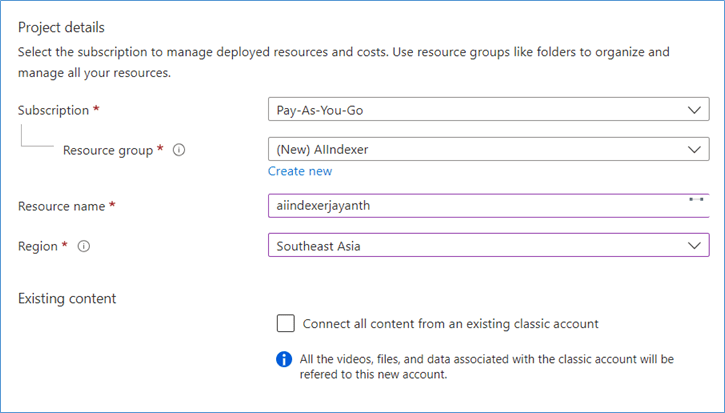
Configure the service and provide the general information needed such as resource group name , etc.
Next, we need to create a media service. This is basically the place where the videos are being uploaded. Keep in mind the AI and Platform for delivering videos are different, This feature used to be called Azure Media Services before and was a favourite for people who wanted to host or create something similar to YouTube but within Azure.
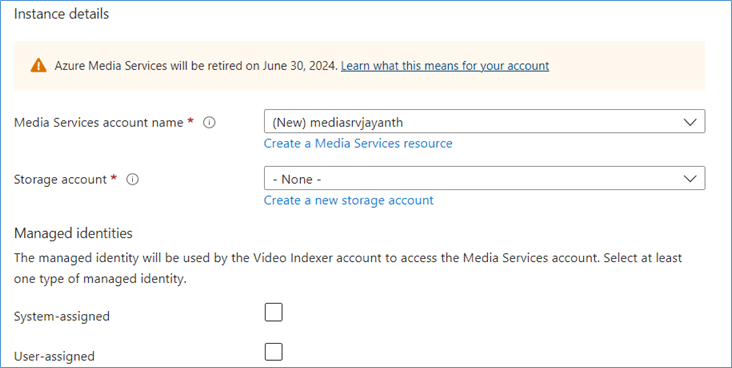
One of the best features of this service is the option to upload videos to a Azure Blob Storage account, so that we can automate upload and processing of videos such that they don’t need to be manually uploaded. By using this option, we can simply Pass the URL for the video within Azure Blob Storage and the Indexer will fetch and process the files as needed. In the below screenshot we create a default storage account, when processing very large number of files, keep in mind the storage limits for Azure blob Storage and the performance tier.

Create a Managed Identify – A managed identity is a user account that is created within Azure Active directory, it has the advantage that its more secure since it is essentially password less. In this case I am just going to use a System assigned Managed Identity as its not the main point of the post.
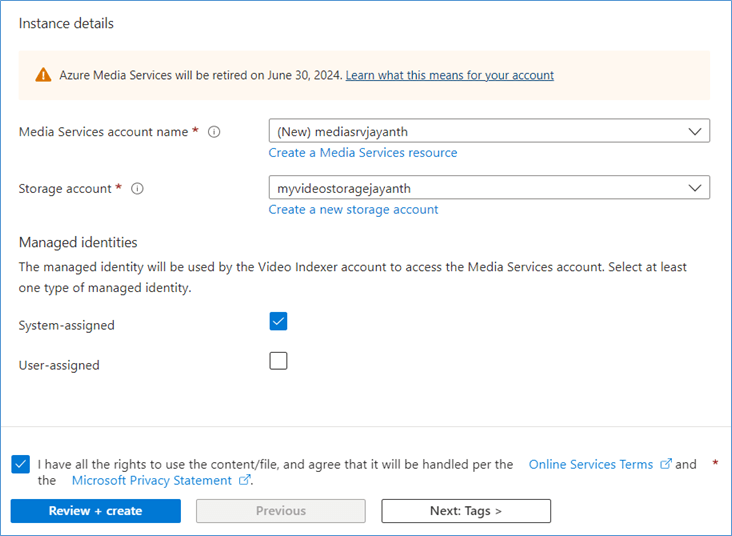
Once you click the review and create button you should the deployment screen.
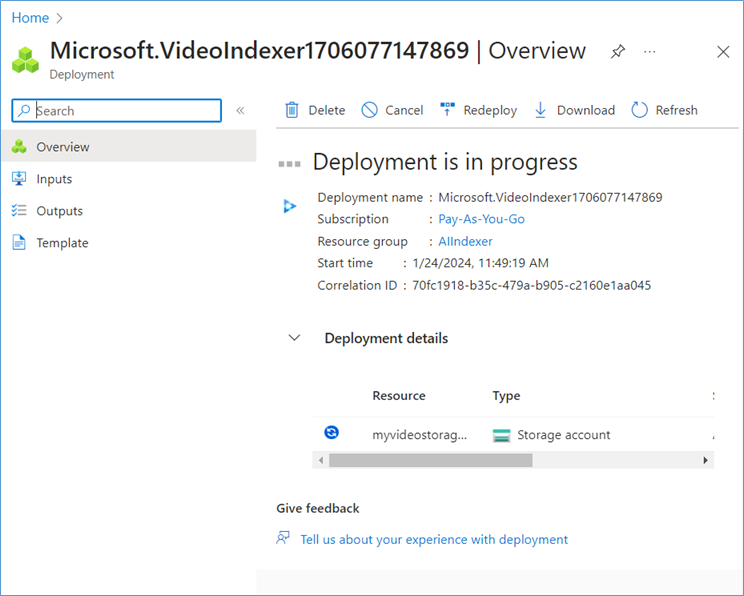
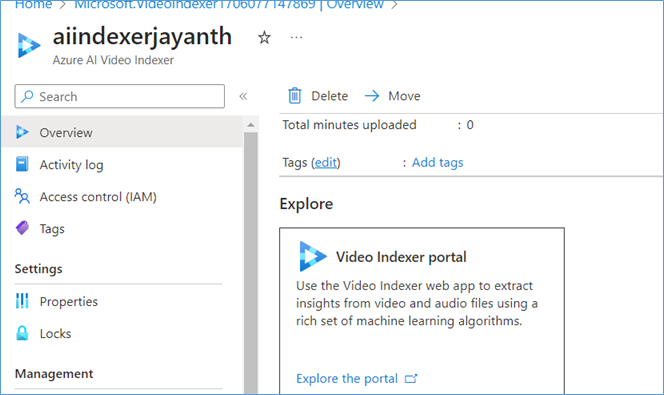
Once the resource is created you can jump right on to the portal to have a quick demo of the resource and how it works.
Step 4
Step 5
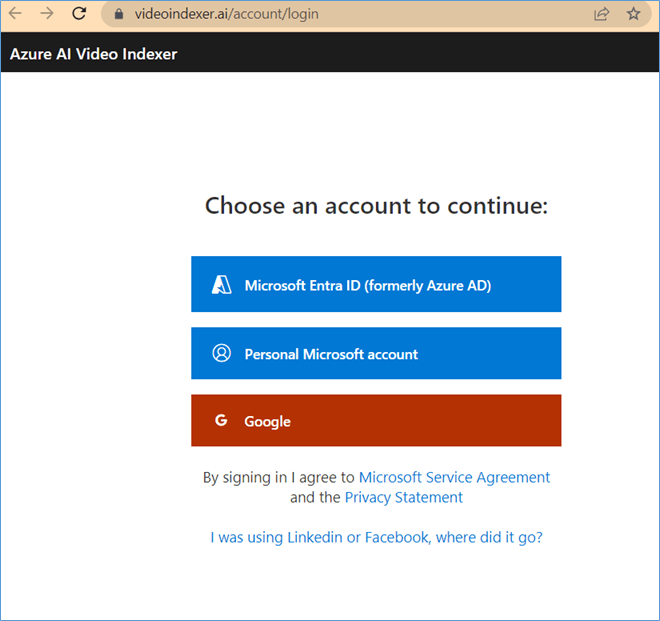
To login Click the button for the Video Indexer Portal as show above and you will be taken to the sign in page for the portal itself.
Step 6
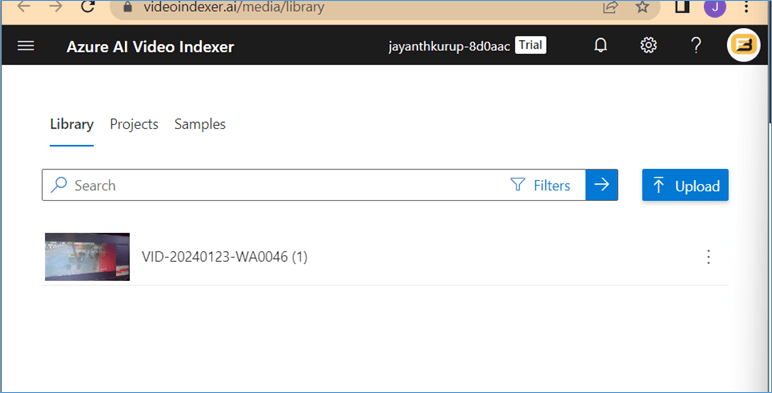
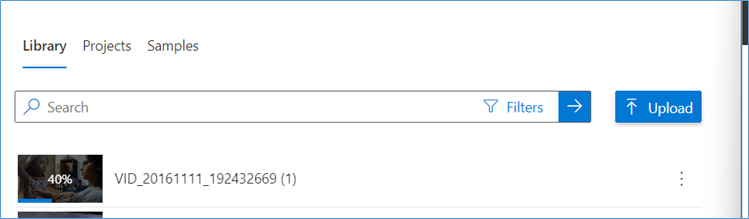
Upload a video using the upload Button on the righthand side of the screen.
Step 7
Provide details of the video , such as the permissions and the encoding quality etc.
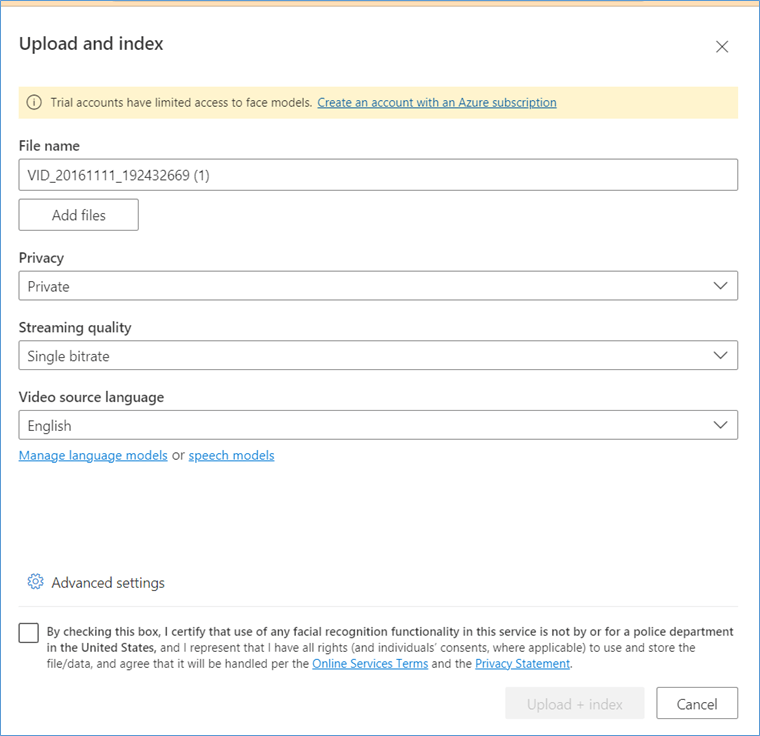
There is a easily missed option below called Advanced Setting in the above screen. Click on it and you will get many options to fine tune the AI model. For example, since we were processing CCTV footage there will be no audio as such. The default is Audi and Video. Changing these options are important since they affect the final bill.
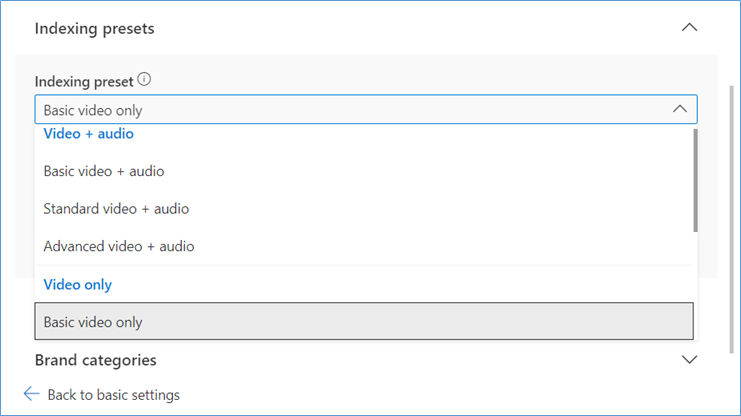
There are three tiers Basic, Standard, Advanced etc, a feature like facial recognition etc is available only from standard and Advanced tiers onwards. An interesting option is brand recognition which can process brands in things like clothing etc and is a great way to bucket and profile visitors at a mall for example.
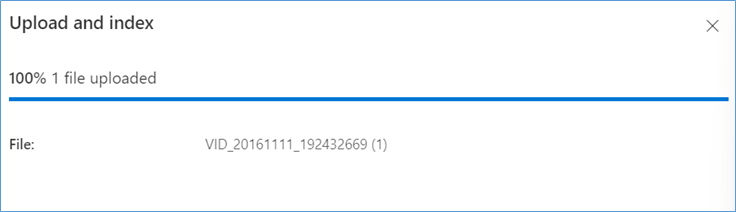
When you are done configuring the same, check the license box and click Upload and index option.
Ther video will then get uploaded into the blob account we talked about earlier and the indexer can start processing the image. Press Close at the bottom of the window.
Step 8
When the video is being processed you will see the below screen , with the percentage of the processing that is complete.
Step 9
Once the video has been processed fully click Play on the video thumbnail to navigate to the indexed details as shown below

Just under the tab called insights you will find the search text window where you can enter what you are searching for and the insights for the same will be displayed below.
In the below screenshot you can see that it detected the buses and cars that crossed in front of the camera. If you know the color of the bus you can enter the same.
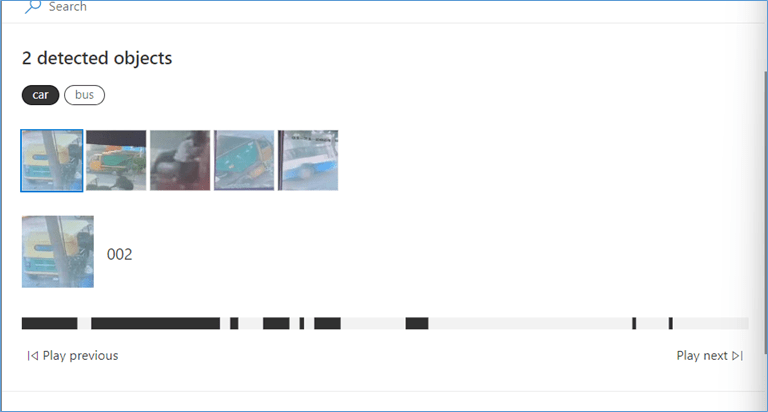
Notice that after searching the timeline highlights the relevant portions in black.
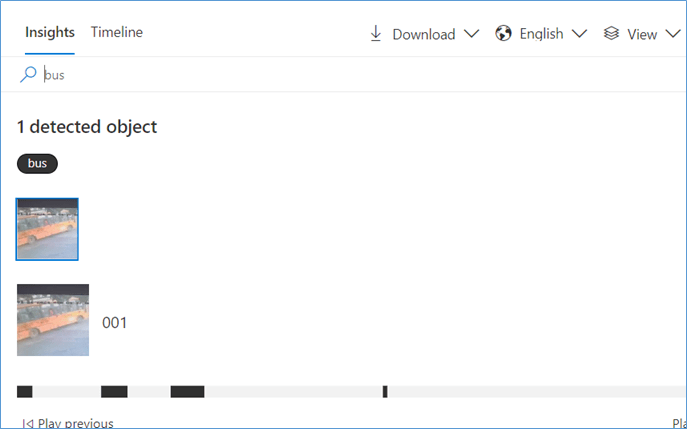
This obviously has use cases in traffic came , OCR for number plates and many other scenarios.
Step 10
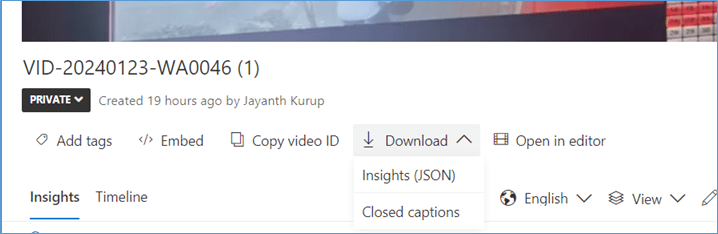
Downloading the insights , the insights can be downloaded as JSON and searched as a text based search via a portal , making sure that you don’t even have to visit the portal until you know there is a video that has the info you are looking for.
You can also download the artifacts which is much more comprehensive information like the faces detected in the video , the position , the thumbnails etc.

OCR data etc
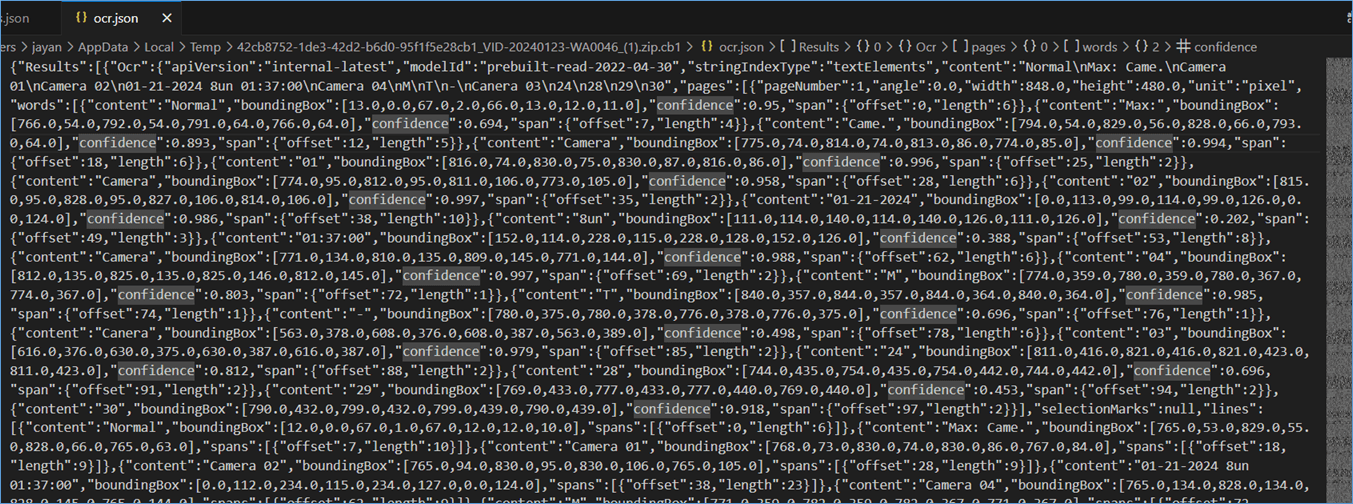
As you can see there is a wealth of information available in videos and its been a challenge extracting the relevant information from the files, but hopefully not anymore.