A great way to add content to a WordPress site is to use reusable blocks. A block as its name suggests is a unit of code representing a paragraph and image a widget or a video or any combination of the above. These blocks can be made reusable such that you could customise them with the font or features and then implement that same block across all your posts. An example of such a reusable block can be found at the bottom of this post.
The first step is to create what you think the block should look like. This would mean adding text images links etc. Once done you right click the block and you will find the option to convert it into reusable block.
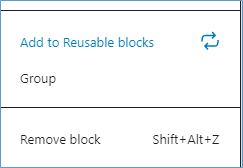
Once you create the Block simple click the block options menu and “Add to Reusable blocks” as shown below.
The reusable blocks are then available under a separate header in the blocks menu as shown below clicking it will automatically add the block to that portion of the WordPress post. See below.
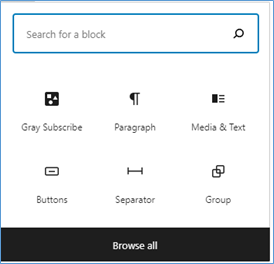
In case you do not see your block, simply search for it in the search text box.
Another option to view the reusable block as well as edit them later is to click the Browse all button in the above screen shot and navigate to Reusable Tab in the windows that opens.
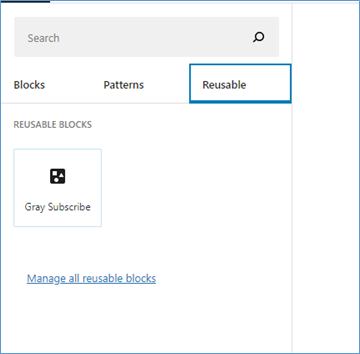
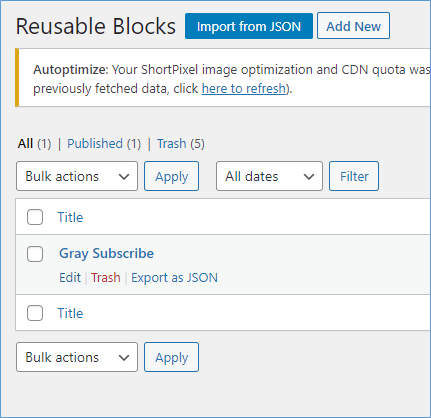
For example in this case I have a block that is used to encourage users to subscribe to my YouTube channel as well. Details on how to create a subscribe button for the YouTube channel can be found here. If you are not happy with the way the block turned out simply click the “Manager all resuable blocks” link in the screenshot above. This will take you to screen where you can edit the block
Please Consider Subscribing