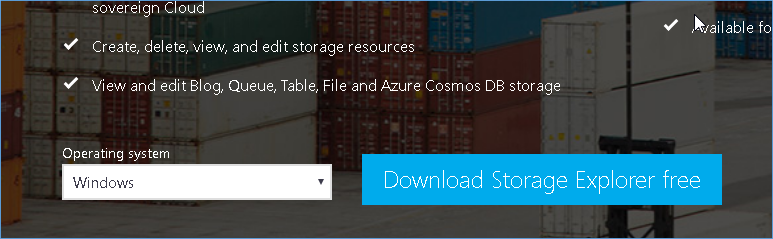
When it comes to working with Azure one of the tools almost everybody end up having to use is Azure storage explorer. The tools is a third party software available on the link here
The tools is fairly straight forward to use and only requires credentials to access the account.
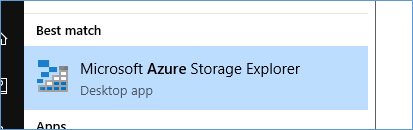
Simple click start and search for Azure storage explorer
Once open you should see the below interface. The screen is likely to change as newer versions are release but the overall concepts should remain the same.
Connecting using Azure Credentials
When browsing your own azure subscription as might the case for most developers it would be easier to simple enter the azure credentials to the screen below
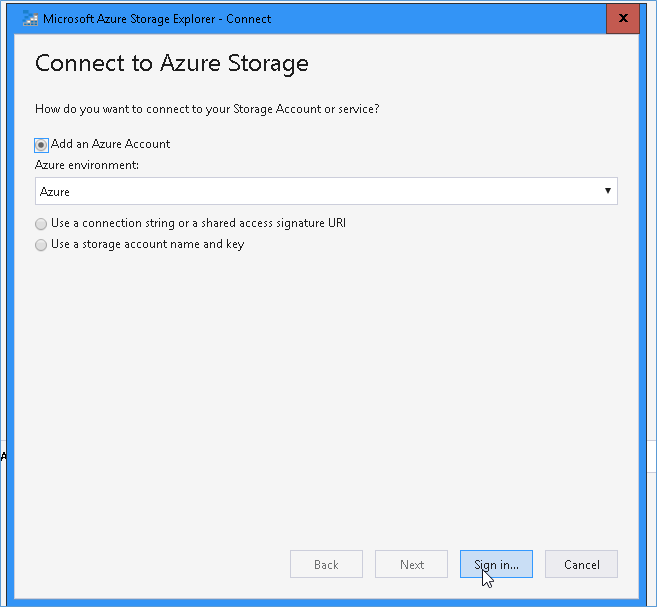
The user will click sign in and entre the credentials as shown below
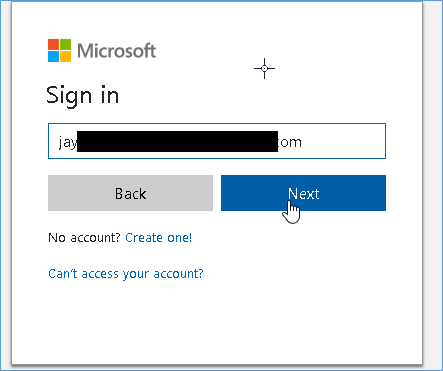
On the next screen they are expected to enter the password after which they will be returned to the application and will have their storage accounts listed on the left hand side
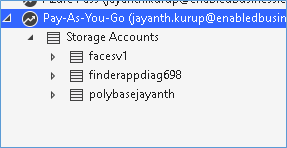
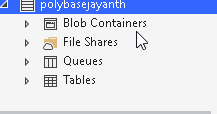
After this the user can simply navigate the storage account just like they would on a normal operating system drive.
Keep in mind the folder structure is concept is applicable only to blob storage and File shares. Tables and Queues are special constructs that behave differently.
Connecting using Storage account and Access key
Occasionally users might be required to access another person storage account to download files e.g. when using ETL etc. In such cases the user is expected to provide the storage account name and a unique access key that allows access to only that storage account.
The owner of the storage account will login to their subscription and access the storage accounts via the website.
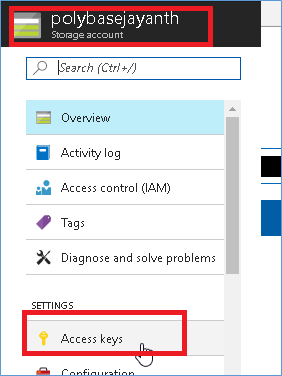
Once the user clicks the access keys link they will be redirected to the below screen from where they can copy the name and key details

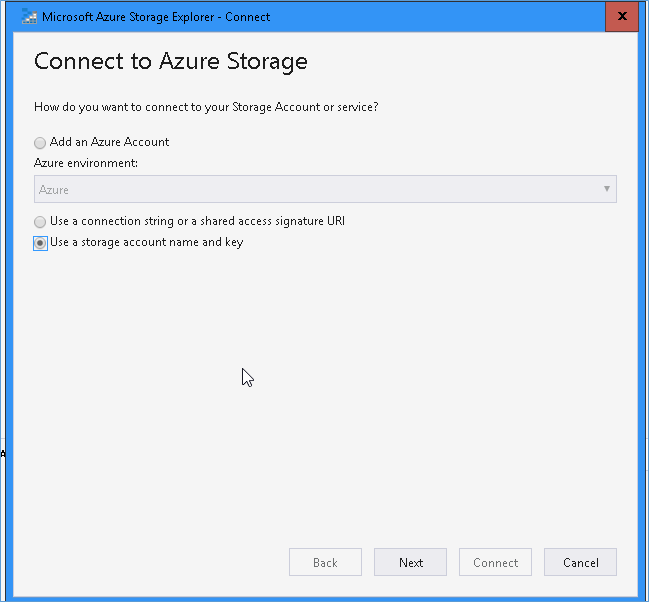
The developer will then click the connect button on the Azure storage explorer application and choose “storage account name and key” as shown below followed by Next.
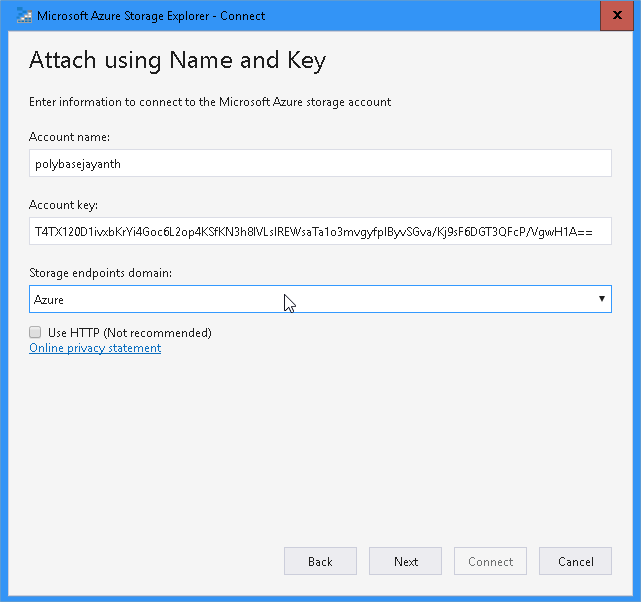
After entering the storage account details as shown below the user must click Next. Keep in mind certain storage account have different endpoint URLs and so the dropdown list corresponding to it must be selected. For the majority of users the default should work fine.
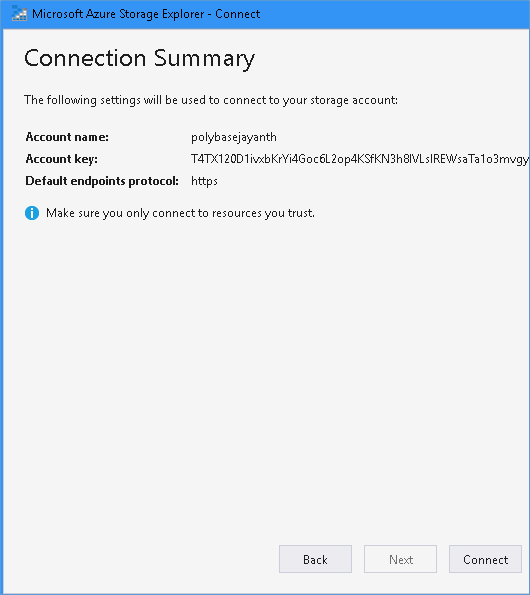
On Pressing Next a confirmation screen is displayed.
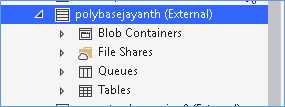
Press Connect and the storage account and the container corresponding to it will be displayed in the application as shown below.
And that is all there is to it. The rest of the buttons on the tools explain themselves and anybody familiar with Windows won’t have any trouble using them.
Please Consider Subscribing