Please Consider Subscribing

To perform image classification its best to have a GPU to improve the speed of operations.
To have everything working on a GPU you need to have Pytorch installed with the support for appropriate version of CUDA. Keep in mind all versions of CUDA are not supported at the moment. In order to have CUDA setup and working properly first install the Graphics Card drivers for the GPU you have running. To download the latest version of the driver (windows default drivers won’t be enough) visit the below link and those the driver based on your graphics card.
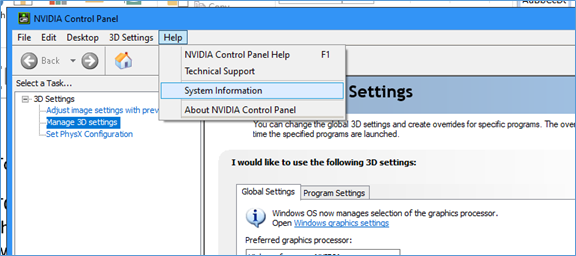
WHAT GPU AM I USING?
To know what graphics card you are using right click the desktop and click NVIDIA Control panel. In the Help menu use System Info.
You will find the details of your graphics card below
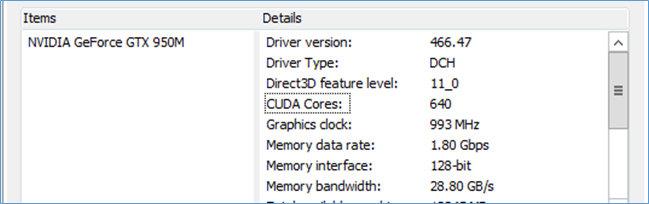
Not all GPU support CUDA so check if you have CUDA Cores.
WHERE CAN I DOWNLOAD DRIVERS FOR MY GPU?
Now that you know what GPU you are using visit the below link and download the driver as needed.
https://www.nvidia.in/Download/index.aspx?lang=en-in
What is CUDA?
CUDA is the framework the GPU uses to perform parallel computing required for machine learning. Normally GPUS are used for Graphics rendering but we can harness the power of the GPU to do tasks other than Graphics rendering. In this case we use it to perform massive floating point calculations which would stress a traditional CPU. CUDA is how python can access the GPU and pass instructions to the GPU instead of the CPU.
WHICH VERSION SHOULD I DOWNLOAD?
Before you can decide which version of CUDA you install you need to check if it is compatible with Pytroch. E,g CUDA 11.3 isnt working properly on Pytoch now. If you visit the pytorch link below you will get the command that tells you how to install Pytorch based on the support CUDA Version
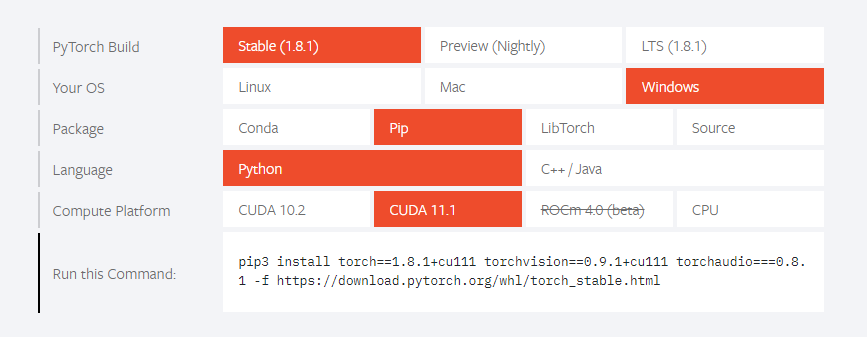
Notice how it’s got CUDA 11.1. That’s what we will install
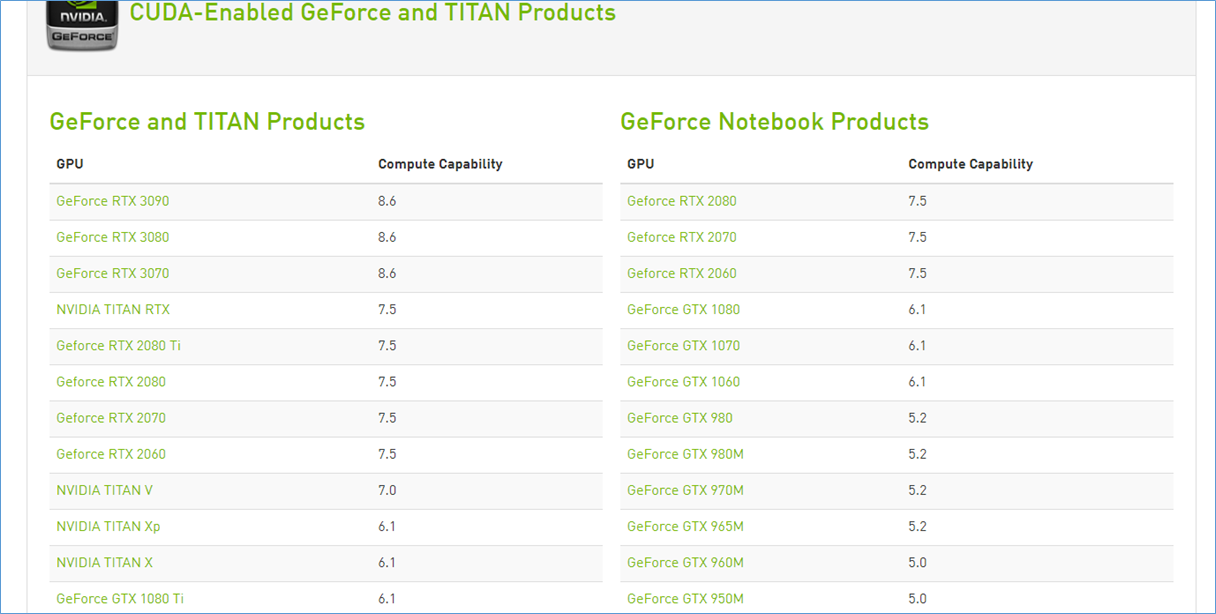
The version of CUDA you download depends on the compute capability of the GPU you have.
To find out the compute capability for your GPU visit the below link and lookup your card as shown below
https://developer.nvidia.com/cuda-gpus
INSTALLING CUDA
Now that we know our GPU support CUDA 11.1 we download it from the below link
https://developer.nvidia.com/cuda-11.1.0-download-archive
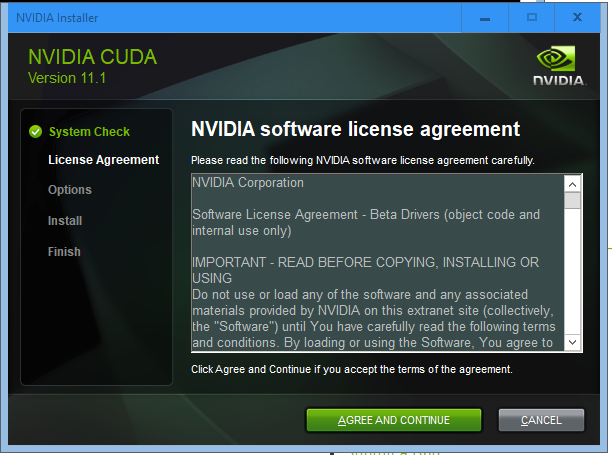
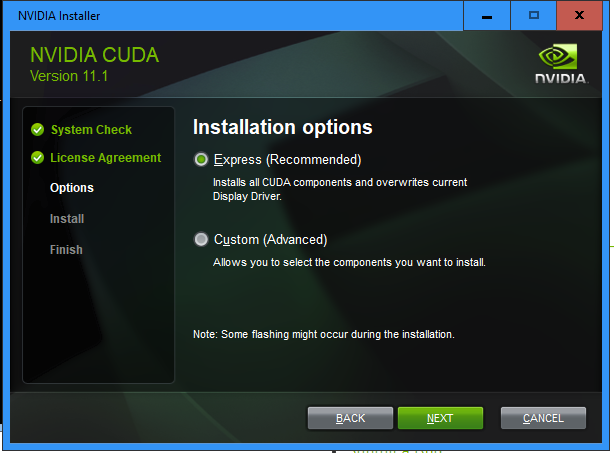
Start the installation of the downloaded files
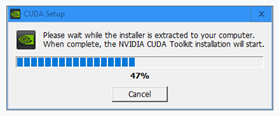
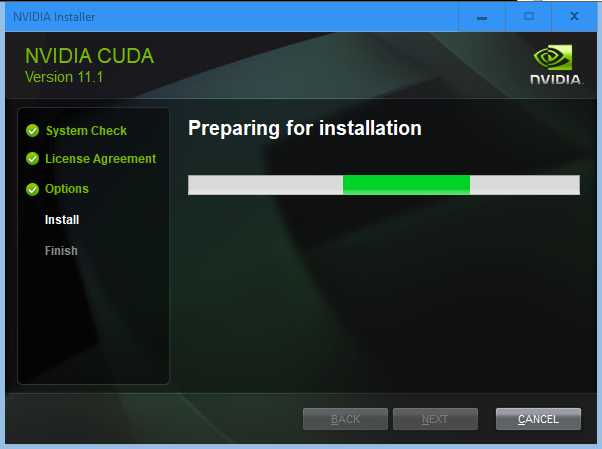
Cut down version of Visual Studio with VC++ gets installed here. Its needed for CUDA to work properly.
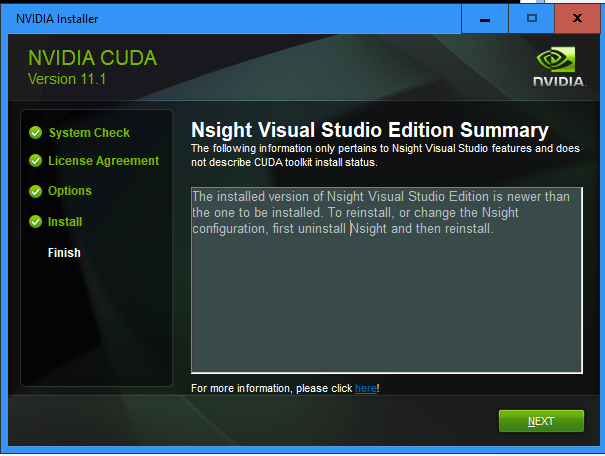
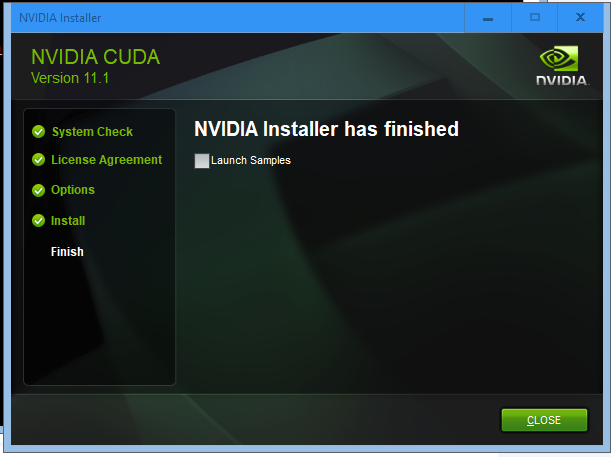
We have installed the CUDA Toolkit.
INSTALLING CUDNN
Next we need to install CuDNN
If you need to install a version of CUDNN for an older version of CUDA you can visit the link below
https://developer.nvidia.com/rdp/cudnn-archive
Notice how the version of CUDNN explains which versions of CUDA it’s compatible with. This step requires registration with NVIDIA

The latest version can be download from the link below
https://developer.nvidia.com/rdp/cudnn-download
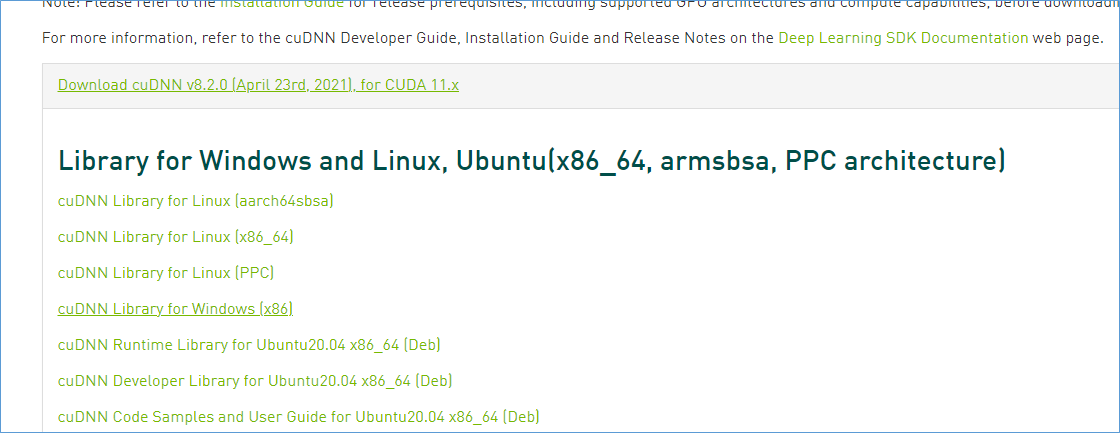
You can see from the above link the latest version is compatible with anything older than 11.X
So you can download it as is. Choose the Windows library
You will see this is a ZIP file and not an installer. Extract the contents of the ZIP file to C:\Tools\Cuda
WHICH VERSION OF CUDNN AM I USING ?
Once the CUDNN Zip file is extracted you can always recheck the version by navigating to the path above and open the file cuDNN_version.h in notepad
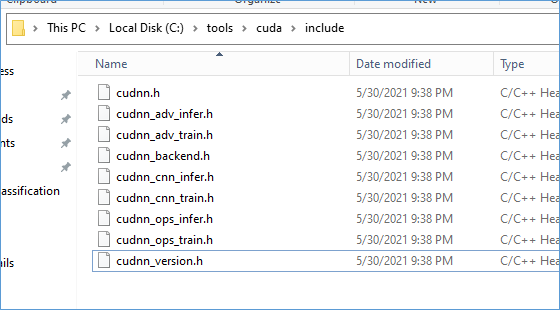
You will see the MAJOR Version and MINOR Version as shown belo
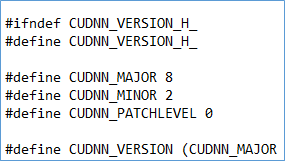
This matches the link we downloaded from.
TIME TO ADD PATHS
After installing CUDA and CUDNN we need to set the path in Enviornament Variables so that the system knows where to find these installations.
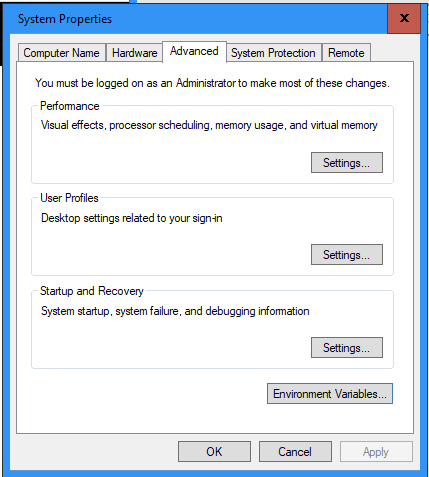
Click Environment Variables and identify Path in System variables, Click Edit> New >Browse > Enter the Paths mentioned later and Press OK.
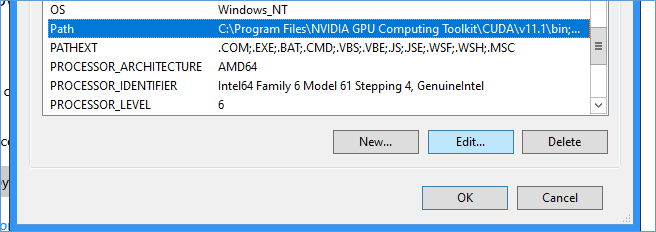
You need to add the below paths into the system variables

![]()
![]()
Some of the above may already be present.
CHECKPOINT
At this point we have installed CUDA and CUDNN and the Graphics Drivers, this is a nice time to restart the computer before we start installing Pytorch.
Restart the Computer.
INSTALL PYTROCH
With our system meets the prerequsites for using CUDA and GPU we can start installing Pytorch. From the previous section on WHAT VERSION OF CUDA DO I DOWNLOAD we navigate to PyTorch and select the required options based on the versions we setup in previous steps.
Keep in mind before you can install PYTORCH other modules like Pip , numpy , python etc are installed. Basically we assume some familiarity with the PIP Command and you already know how to use Python in a some basic sense.
For us the command is shown below
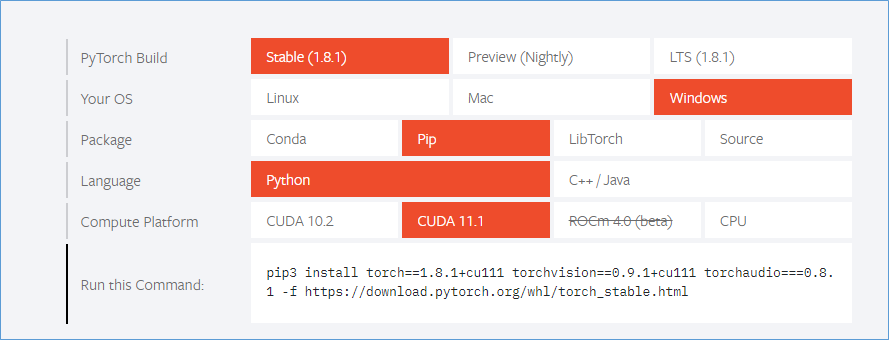
pip3 install torch==1.8.1+cu111 torchvision==0.9.1+cu111 torchaudio===0.8.1 -f https://download.pytorch.org/whl/torch_stable.html
Launch command prompt in Administrator mode and run the command you got from your selections in the Pytorch website.

When its done your last line on the screen should read
![]()
Now that pytroch is installed we need to check if its configured to use CUDA or not. Pytorch can use CPU or GPU so we can’t assume a successful installation will use GPU.
So start Command prompt again and enter the below command
import
						torch
torch.cuda.is_available()
Your screen should be as shown below

With this you have successfully installed and Configured CUDA , CUDNN and PyTorch for your machine learning projects
References
https://docs.nvidia.com/deploy/cuda-compatibility/index.html