One of the most important things you can do to improve your Google search index ranking is to improve the load time of your website. What this means is to make sure that the site loads quickly. This is something you want to do not only for Google search. Waiting for a slow site to load is aggravating for everybody and it’s one of the big reasons why people don’t revisit a site; as first impressions matter. Typically, you would want to go ahead and test the performance of your site by running it against some kind of tool to monitor the load time of the page. Pingdom is one of the most commonly used website tools to identify how fast your website loads as well as what may be causing the slowdown. As a rule, the website should load in under 3 seconds and ideally in under one for most cases. In this post I talk about enabling expire headers feature in IIS.
Why do Expire Headers matter?
Most websites would have CSS, JavaScript and plugins that are loaded every time a visitor checks out the site. These files can be pretty big and result in a increased load time for the first page. In order to avoid such delays you can take for granted that after the first page loads the next time you do not need to download these again. In other words you encourage the browser to retain these files locally and thereby improve the speed with which the site loads subsequently. By ensuring that the site loads quickly you are guaranteeing that Google as well as the user have a good experience visiting the site and therefore improve the likelihood of your website ranking higher.
Configuring Internet Information Services to add expire headers is fairly easy. As the name suggests expire headers basically set a time limit for the browser saying do not delete these files until a certain number of days and therefore ensures that a copy of this CSS JavaScript etc. is available locally until then. You may not want to set this indefinitely as you would like the user to occasionally have a fresh copy with additional CSS or JavaScript that you have been implementing recently. Follow the steps below to configure expired headers.
How to Set Expire Headers
Open IIS and navigate to the site
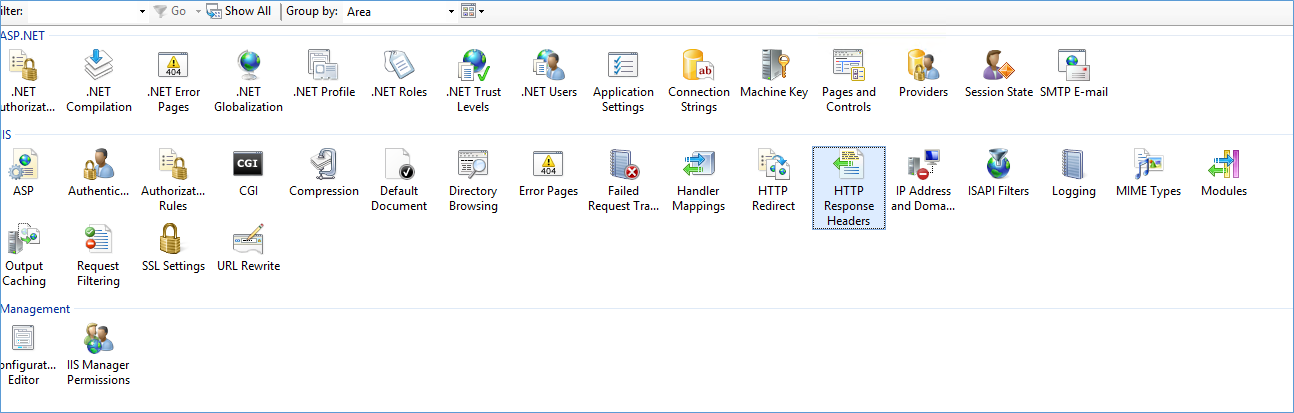
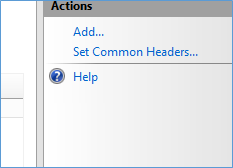
Click on the option for HTTP Response Headers and Click Set Common Headers on the top right corner
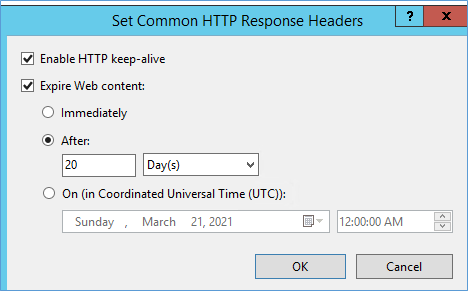
Check the box Expire Web Content and select the radio button After and select the appropriate number of days you want the files to be cached as shown below.
Once completed run the Page speed test again and verify that the speed has improved and the message for expire headers has disappeared.

Please consider subscribing !