WordPress is a one of the most commonly used technologies to host a website and blog. WordPress in turn uses PHP to render the content and therefore it is critical to make sure the version of PHP being used is the latest one. Like most software they release fixes and performance improvements with every release. Security is also greatly improved with newer versions so it is important to stay on top of this.
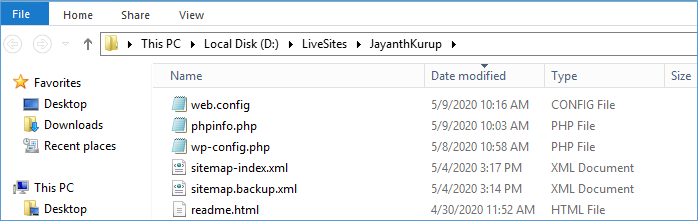
The first thing you want to do in order to upgrade the version of PHP being used is to identify the current version. This can be done by creating a file named phpinfo.php in the root of your website as shown below.
Verify the Current Version of PHP
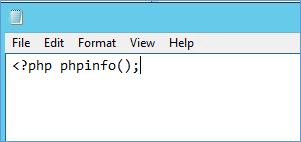
Into the file make the below entry
Access the above file from the browser
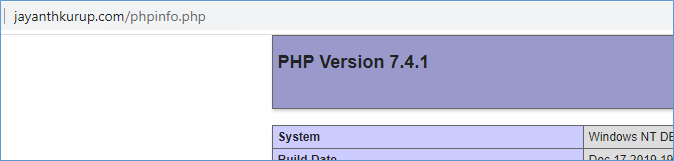
You will be able to see the version on the top banner. In this case I am already using the 7.4 version which is pretty new.
Install Web Platform Installer
Next you can download and install the desired version from web platform installer.
Web platform installer can be downloaded and installed here.
Install PHP
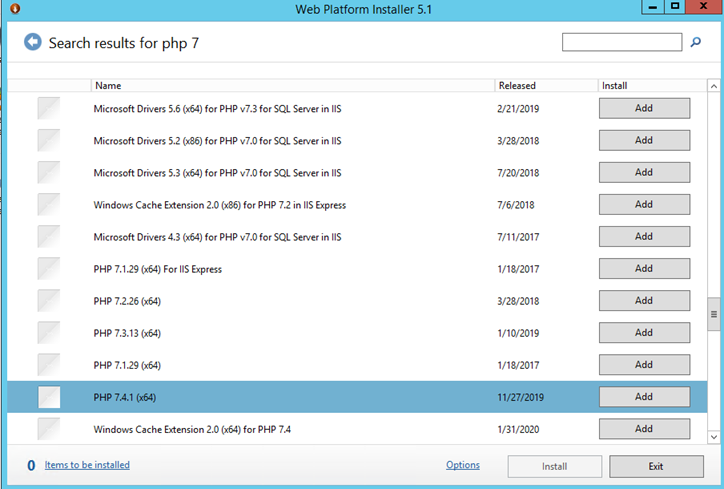
Search for and identify the version of PHP you want to install. Press Add followed by Install.
Verify the list of Prerequisites and Accept the License agreements.
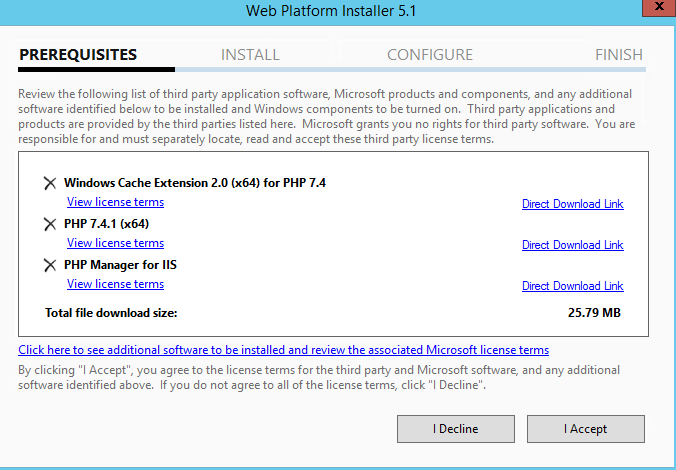
If any of the prerequisites fail to install consider using the direct download link or searching for that installer within Web Platform installer and installing directly.
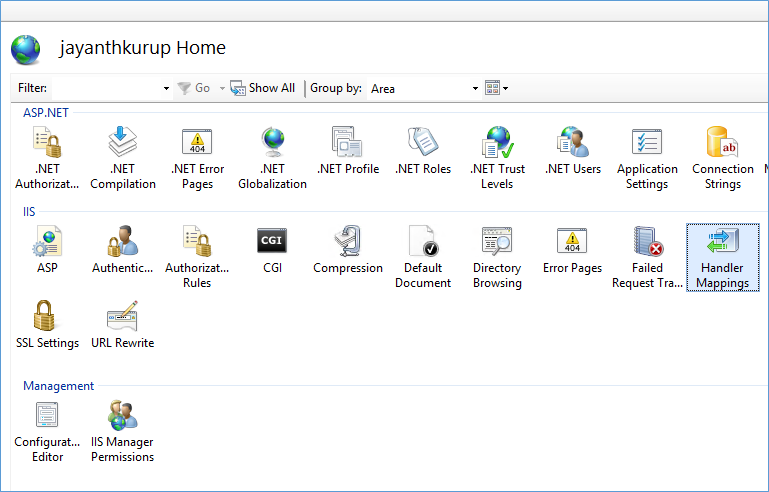
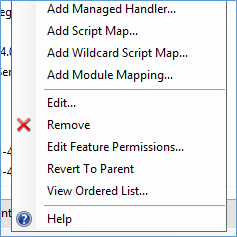
Once PHP is installed, Open IIS and navigate to your website and look for Handler Mapping and open it.
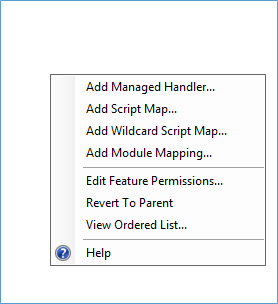
Right click on the background or look for Add module mapping on the top right
Enter the below details to the Add Module Mapping Screen. Verify the path of your PHP installation.

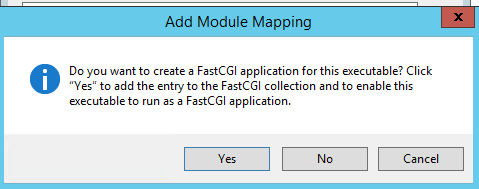
Press OK and Confirm the changes in the next screen by pressing Yes.
Once you have made the changes restart the site for good measure and navigate back to the PHPInfo.php page and the version should be as per the version of PHP you installed.
Some of you may get the error below when trying to access your website.
The FastCGI process exited unexpectedly
Solutions for the above error include
- The path specified in the above add Module Mapping is incorrect verify it again (make sure to pay attention to x86 vs x64).
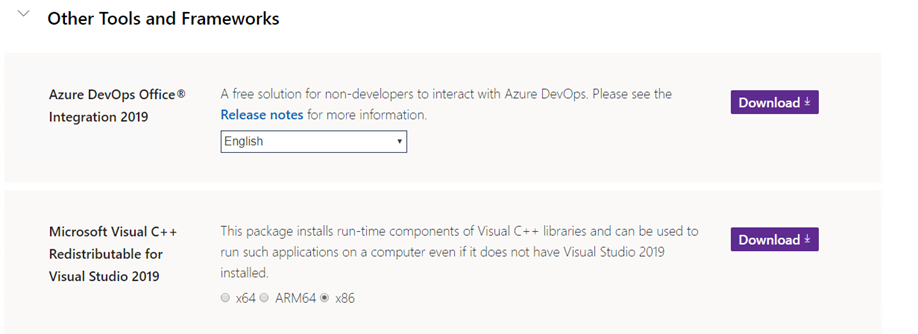
- The Microsoft Visual C++ Redistributable for Visual Studio 2019 is not installed
- If the above two do not work change the order of the Mapping Module as detailed below
Changing the order of the mapping module
The modules are used based on the order they show up so it is possible the mapping is pointing to an older installation of PHP. In order to correct this.
Right click the background and select View Ordered List
Look for and right click the module you created in the step above
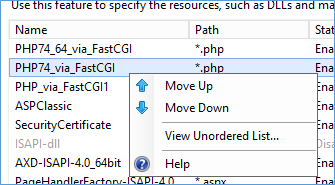
Select Move Up until it is the top of the list.
And with that you have SOLVED how to upgrade and use the latest version of PHP in your Windows IIS Server installation.
Check out how to reset a WordPress admin Password here
Please Consider Subscribing