In previous posts we have successfully created a simple cube deployed and processed it. In this post we are now going to add one of the most important dimensions that need to be added to any cube. The date dimensions is a table that contains a list of dates that can be used within the cube in order to be able to dissect the data along more logical groupings like months , years , quarters etc. A date within the cube is stored in its native format and therefore doesn’t lend itself to querying by quarter or weekdays and weekends. In this case if we have a calendar that defines each date in a consistent way so that we do not need to calculate if the date is weekend or a weekday every time we save a lot of time while querying.
Also date can mean different things in different context, for example the calendar year beings on Jan 1st but the fiscal year begins on April 1st or some other day based on each companies preference. In these cases we need a table which will easily be able to map a day across both the fiscal and the calendar years. Another critical area that date dimension play a part is in its ability to provide values for missing days; this becomes important when doing this like trend lines. Without a table which provide information for all dates we will not be able to provide a trend line where say for example sales were 0.
Let us now create a date dimension within out cube.
Right click the Dimensions folder within the solution explorer
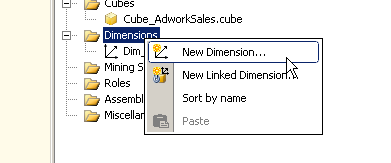
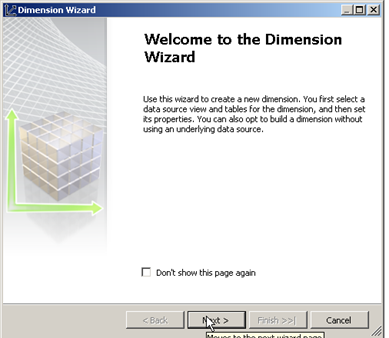
And select new Dimension, on the below screen press next to continue
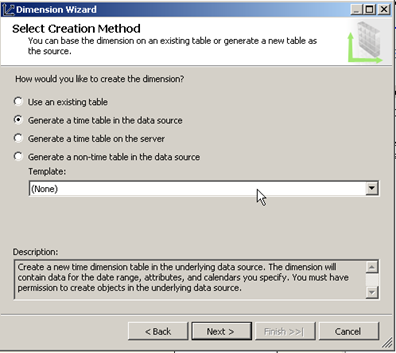
In the below screen we have options to create a time table in the Datasource or the server, since we are looking to create a date dimension we select the option Generate a time table in the data source. And then within the drop down list we select the date template. Press Next.
In the next screen, we see various attributes that define a date such as fiscal year, and quarter and many more. Since we are looking at sales data let’s stick with the default options since we require a fiscal calendar as well as corresponding Calendar Year data. There are many more variations of the data if you scroll down you will see other options such as reporting and manufacturing dates etc.
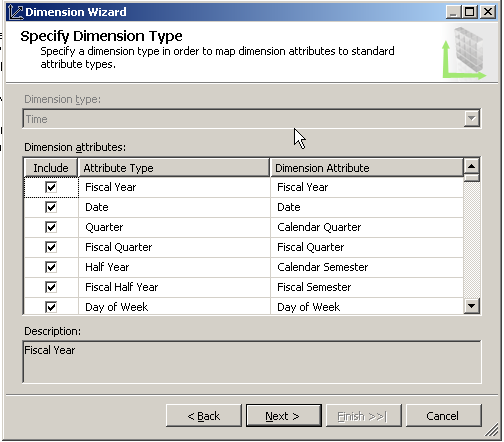
Press Next to go the screen below
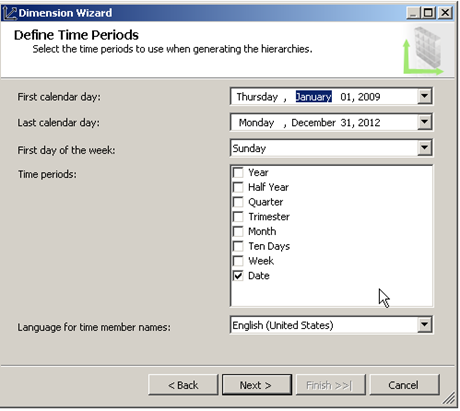
In the above screen we define the date range that we are interested in. as shown in the screen shot the first calendar date is Jan 1 2009 and the last date is 31 Dec 2012. Now it’s important to make sure you select a date range that is large enough to encompass need past as well as future needs. If the cube is expected to contain data from 1 Jan 2000 till 31 Dec 2020 then the above date range is clearly not sufficient. In the example we are using it’s clear that this date range is not sufficient since the minimum order date and max order date in the sales header table is 2005-07-01 00:00:00.000 and 2008-07-31 00:00:00.000 respectively.
I will not be including the date from 2005 and 2006 in my date dimension as I will later use this to show what happens when the dimension is in complete and how to tackle these errors.
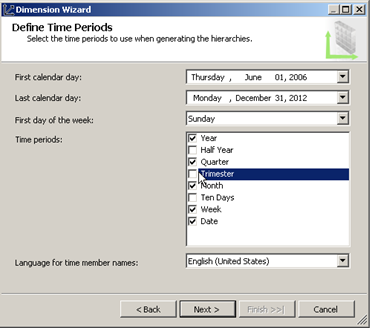
In the above screenshot I have made the required changes and selected the year, Quarter, Month , Week and Date as the attributes I would like in the cube.
In the next screen , we select the additional conversion that we would require as part of the date dimension. In this case regular calendar is selected by default but we would also like the fiscal calendar so check the box for it and choose a start day and month e.g. 1st of April.
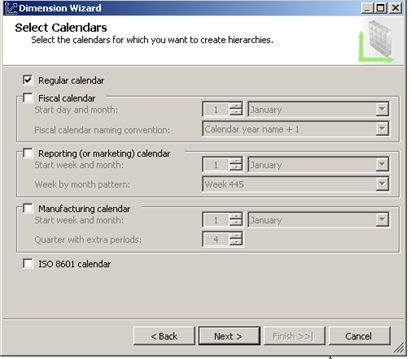
Press Next once this is done and give the Dimension a Name and check the box “Generate the schema now”
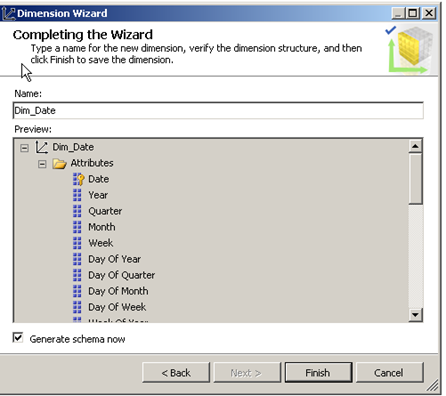
Press Finish and the below screen will appear
In this screen we now begin the process of creating the underlying tables to store information about our date dimension.
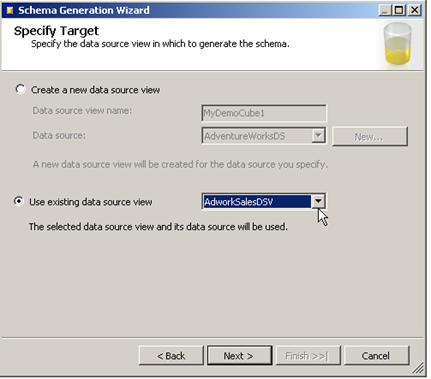
Since we are creating the date dimension to an already existing cube we select the second option to Use an existing data source view.
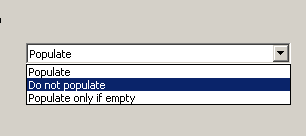
In the next screen we tell SQL Server what additional objects need to be created along with the dimension table e.g indexes and primary key etc. We also ask the wizard to populate the table with data once its created by selecting the option populate.
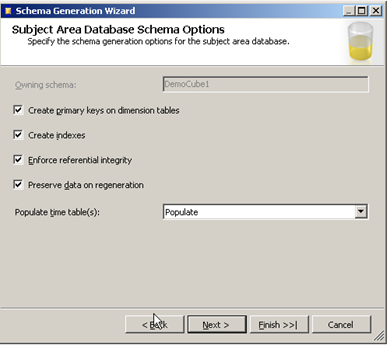
Other options include
In the next screen we see the options to specify the naming conventions , let it at the defaults.
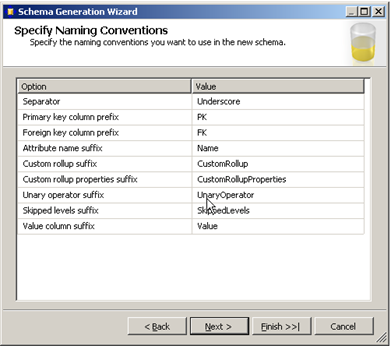
Press Next to enter the final screen and press Finish
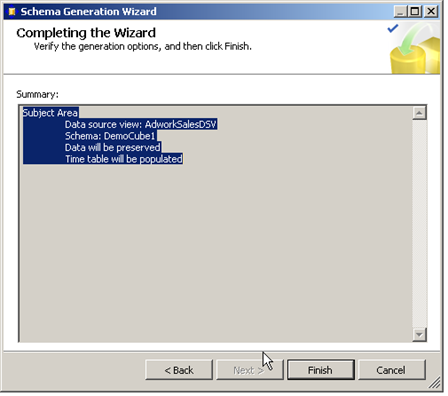
Once we press Finish the wizard begins the process of creating the table and dimensions we just configured.
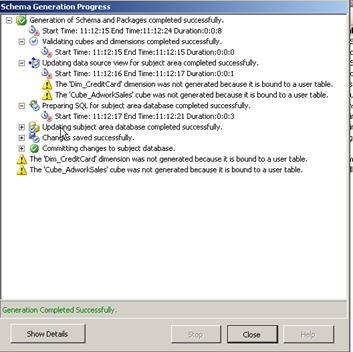
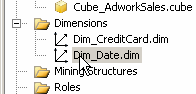
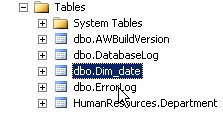
Let us verify the same in our cube.
Please Consider Subscribing