In this second post we explore how to create a Web App in which we can host a website and then bind our Public IP Address.
In order to run websites in azure you need a web app role. Unless of course you have a Virtual machine in which case you can install and configure IIS on it and host your website within the virtual machine itself. We will cover an example of a VM as well but for now we just want to get started with the least amount of effort and for this purpose a Web role will be best.
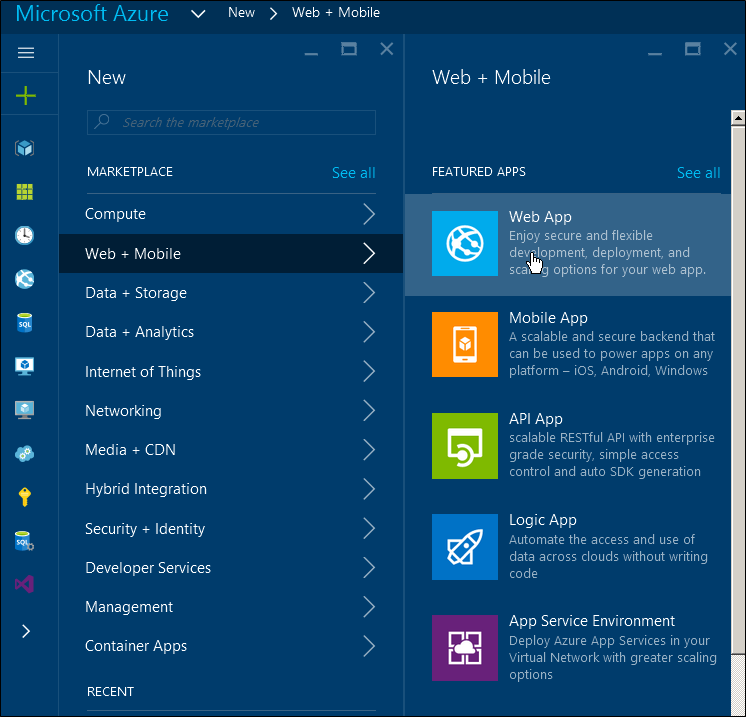
First we open the azure Management console and slick Web+Mobile and then Web App as shown below:-
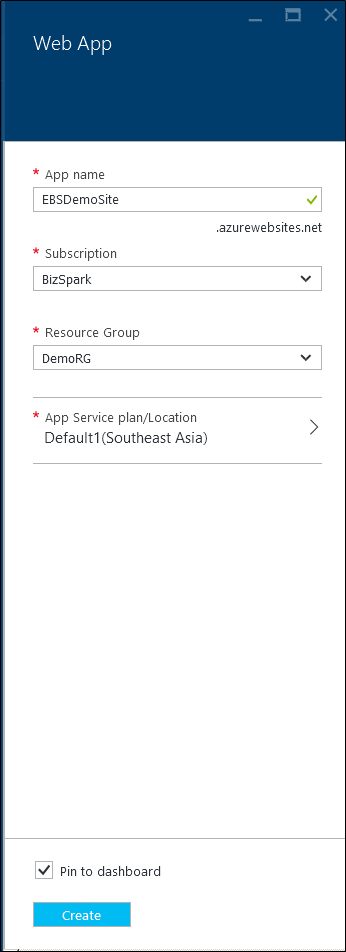
On the below screen enter a unique name for your site, it doesn’t have to be the domain name of the site, it just needs to be unique within the azurewebsites.net URL. Map this Web App role to the same resource group we created in the previous post and choose a default location ideally as close to the end user (website visitors) as possible. Press Create at the bottom of the screen.
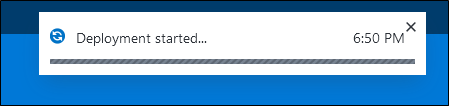
You should be able to see real time progress of the Web Role being created on the top right corner
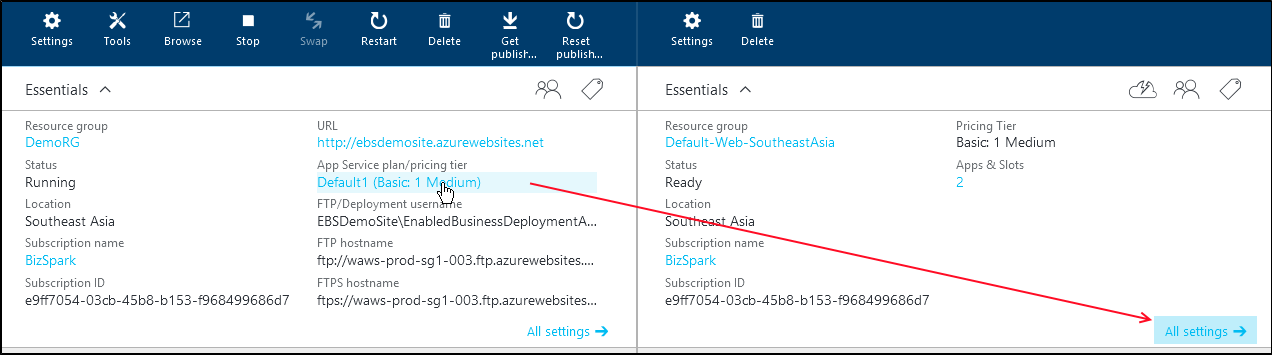
Once the Web App is ready you should see the below screen. The first thing to do here is to set the instance plan. This decides what kind of resources and features are available and as a result also affects the price.
Click the link under the App Service plan as shown below
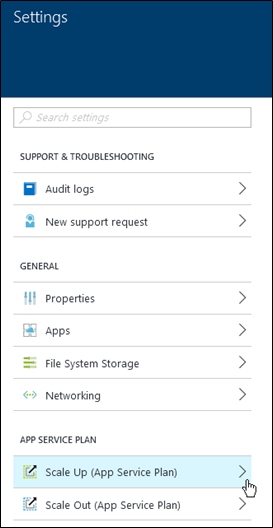
On clicking All Settings, scroll down the list of settings until you reach APP SERVICE PLAN.
In this case I am choosing the BASIC B1 tier as shown below.
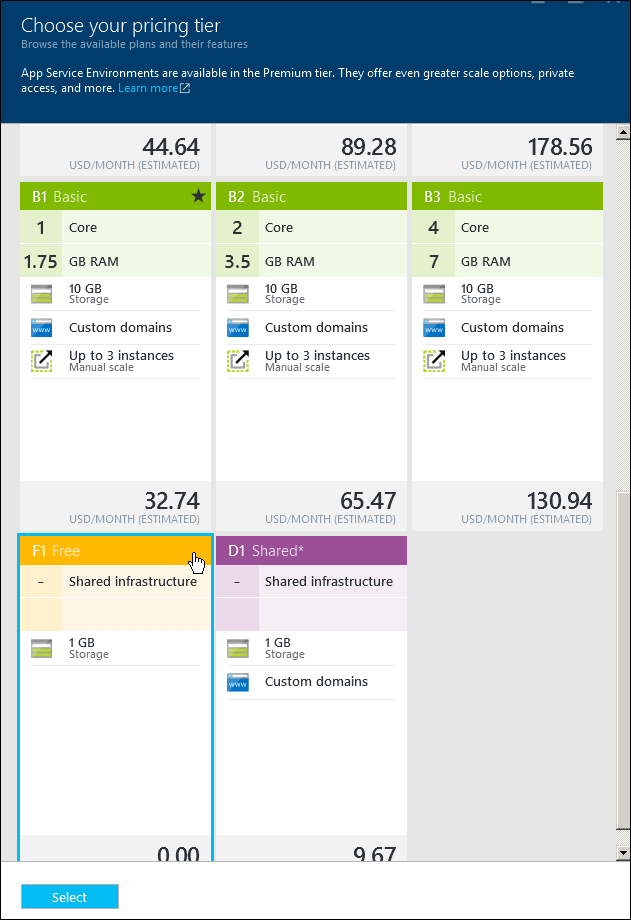
Once you press select the change will take effect.
Now that the Web App Role is a smaller instance we can start creating a website to be deployed on this instance. There are many way to deploy and create websites in Azure, for this post I am going to use the Visual Studio Online Tool.
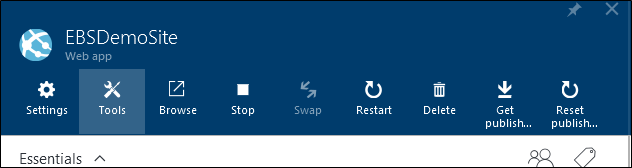
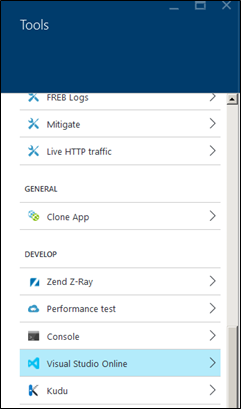
First, click the tools button on your Web App Role.
Next scroll down the Tools bar until you see Visual Studio Online.
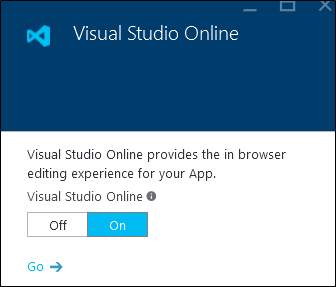
Select Visual Studio Online and then Press On if it’s not already ON. Then press the Go button.
NOTE: – It’s probably best to do this part in IE since MS is not known for supporting other browsers.
You will see the screen below.
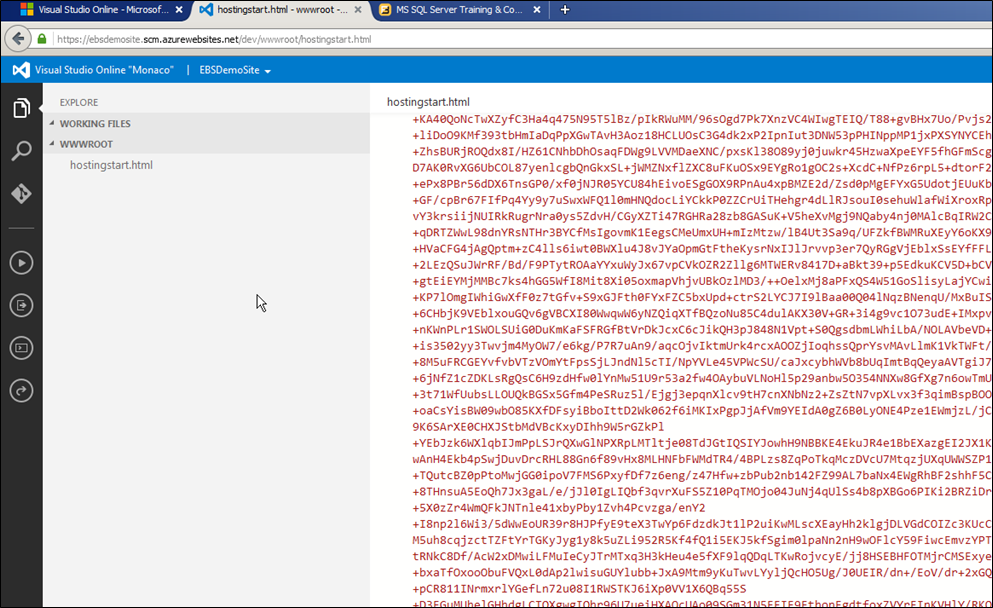
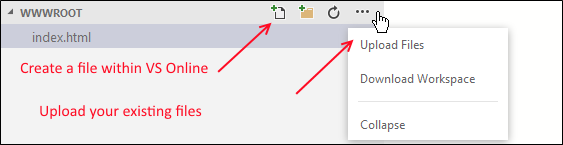
You will already find an html file call hostingstart.html there, you can right click the file and delete it. Next we create our own HTML file. By Clicking the New button ( the first arrow in the screen shot) and creating a file called Index.html
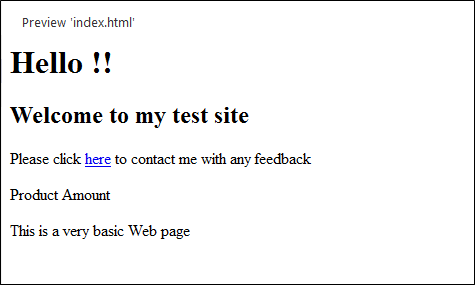
Next we open our index.html page and type our html code into it, you can preview the look of the web page by clicking the preview button on the top right corner of the page.

In the above case it would look like this
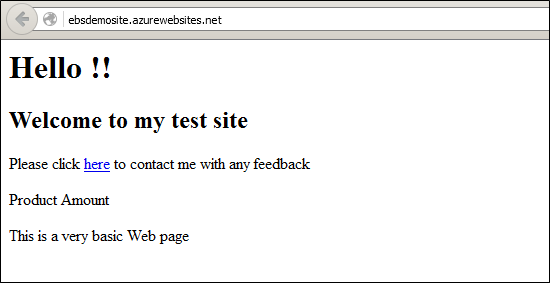
Once the changes are saved we can see the web page and it’s available on the internet, notice that the URL says ebsdemosite.azurewebsites.net.
So now that we have our website up and running in the next post we see how to map a domain name to this website.
References
Creating a Virtual Network in Azure
Creating a Web App Role in Azure
Setting up Windows Authentication with Azure databases
Upgrading Azure database to V12
Exporting data from Azure databases
Querying Azure databases from the management portal
Configuring database firewall in Azure
Creating Azure database server and database
Please Consider Subscribing