A virtual network like its name suggests is an imaginary network created within Azure to give users the feel of having a private network within the cloud. This is often useful for both security as well as providing a level of control over resources deployed in the cloud. Some features even require that a virtual network be in place before you can use them. In this blog we see how to setup and configure a Virtual Network within Azure. Later we will add our Azure resources to this network and then explore how to secure this network from external access etc.
First we connect to the Azure management portal and click new > Networking and then Virtual network. Notice there are many different types of networking options available.

On the screen below make sure the deployment mode is Resource Manager (MS recommended and the latest way) and press OK
| STEP 1 | STEP 2 | STEP 3 |
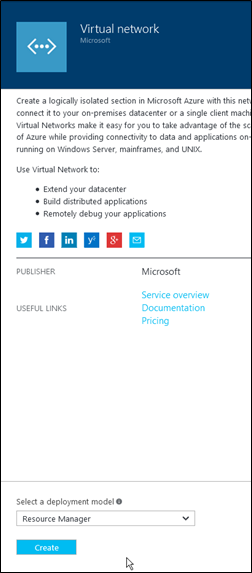 | 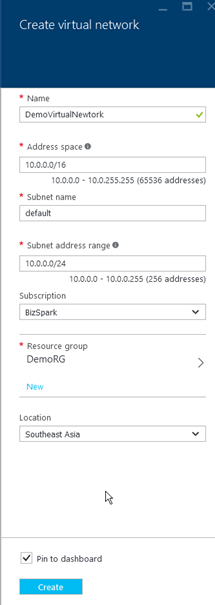 | 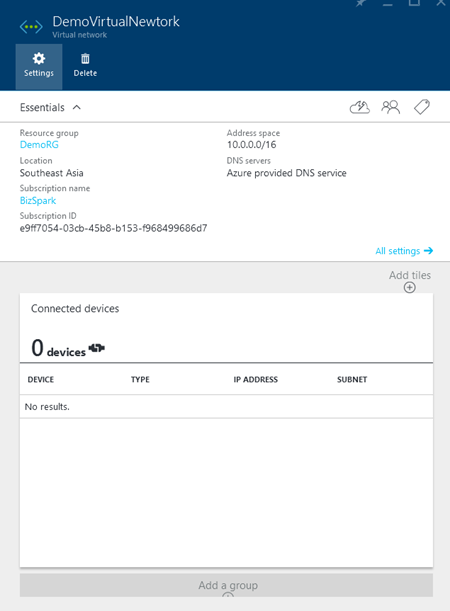 |
| Press Create | Select the Region and the Resource group in which the create the Virtual network | Once deployed you will see the above screen, click All Settings. |
With this we now have a Virtual Network and a pool of IP Addresses we can use within this network. We can proceed to allocate IPs to different resources within our network from this pool of IP Addresses.
References
Creating a Virtual Network in Azure
Creating a Web App Role in Azure
Setting up Windows Authentication with Azure databases
Upgrading Azure database to V12
Exporting data from Azure databases
Querying Azure databases from the management portal
Configuring database firewall in Azure
Creating Azure database server and database
Please Consider Subscribing