Have you ever wondered how to create a SQL Server and then a Database within the server that is managed within the Microsoft PaaS cloud know as Windows Azure? The cloud is offering a lot of advantages over on premise data centre implementations. It’s still getting traction in India but the growing start-up economy has been leveraging the Cloud provider’s competition to start businesses with LOW start-up costs and CAPEX.
Simply put if you’re starting a company or you are a small fish in a big ocean you just can’t ignore the cloud and its benefit. So let’s get started.
In order to start using Azure you first need an Azure account. The layout of the screen during the registration process have been changed periodically so I can’t provide and exact step by step process for the latest process but I generally involved the user having to create a Hotmail account followed by filling in some contact information and registering a credit card in order to make payments. It’s all very simple and most people should have no trouble getting registered.
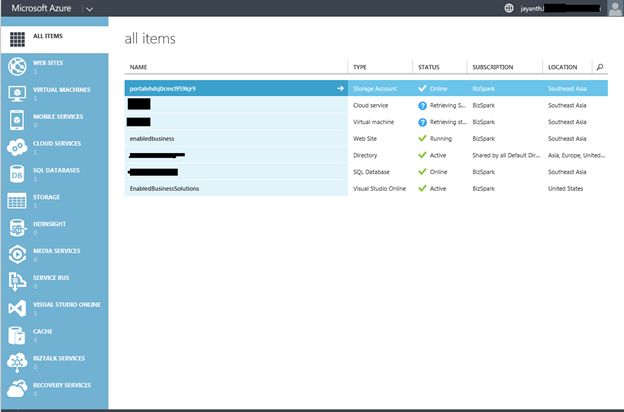
Once your registered you should see a screen like below. The left hand side menu covers a list of all the features available in Windows Azure, some of the most common include Websites, Virtual Machines or VMs, Cloud Services, Storage and SQL Databases. Note that there are other database platforms also available such as Oracle; users can also get Linux installation done on the Windows azure platform too i.e. Windows Azure is not just Microsoft.
|
On the left hand side select SQL Databases, You should see three links on the top. Databases, Servers and Sync. Assuming you don’t already have a server provisioned the first thing you need to do it get one. Servers are available in three modes Basic ,Standard and Enterprise while these seem similar to stand alone installations they are not , The have different limitations in terms of High Availability , Features that are supported , performance and database size so choose correctly, if you make a mistake it’s very easy to fix , but still the cost implications can be huge. So click Servers.
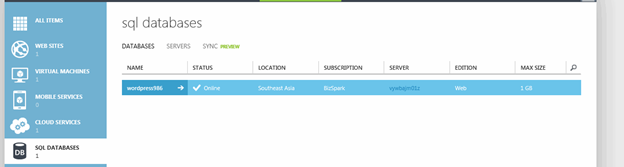
Notice at the bottom of the screen you will see a button Add. Click it to start a new server.
![]()
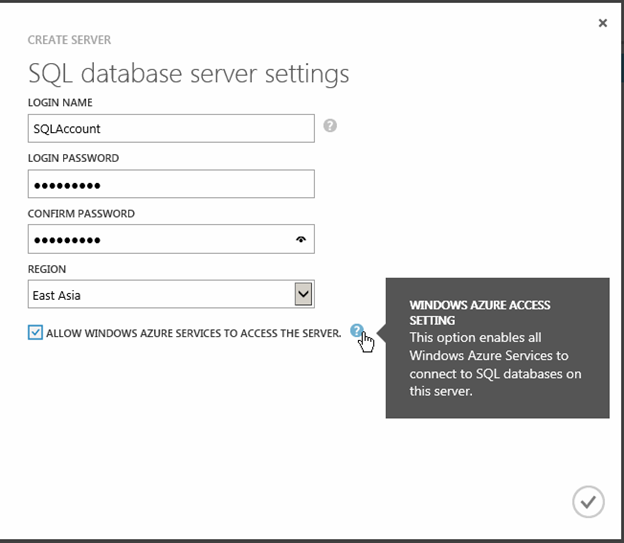
Since the internet doesn’t have a Domain Controller J All SQL account connecting to Azure needs to be using SQL authentication. Make sure you choose a secure username and password. Also Data transfer within the same region is free and fast so make sure your database is hosted in the same region as your website and your website in the same region as its users.
Press the Tick mark at the bottom of the screen. Once the server is created you should see it listed as shown below.
![]()
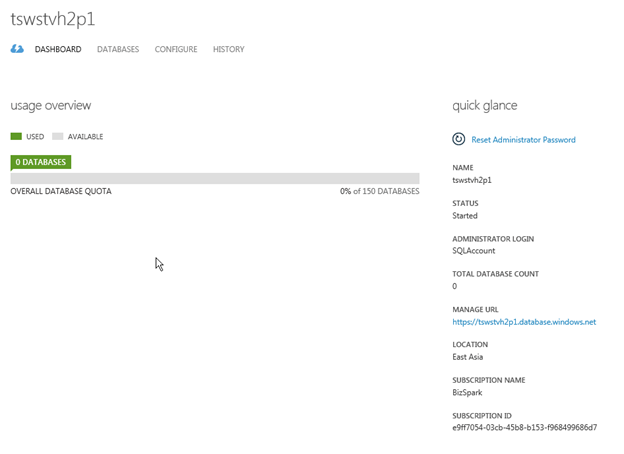
If you click the name of the server you will get an arrow that takes you the server dashboard as shown below. Important information is listed on the right hand side.
Now that we have a server the next thing we need to do is create a database. So go ahead and click the link databases on the top.
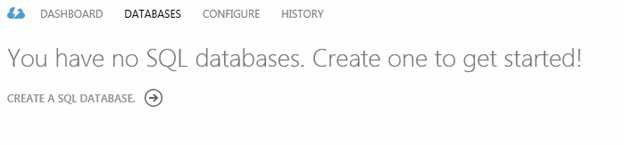
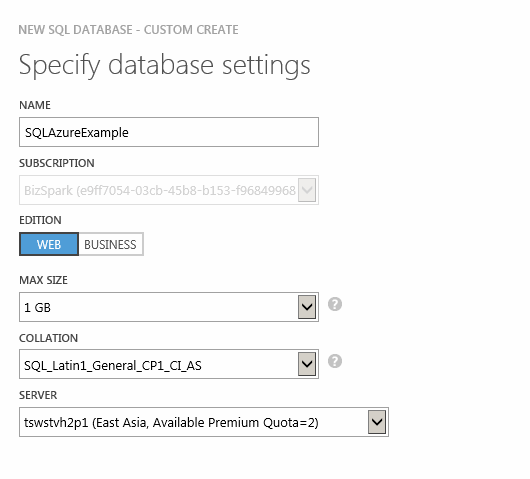
If you do not already have a database you should see the screen above simply click the arrow to start creating a database. You will see the screen below where you need to enter the name of the database.
As you can see the edition is listed as Web and there is a size limit of 1 GB per database or 5 Gb per database, different sizes enforce different limit to the total number of databases that can be hosted on this server.
Additional info like collation is also listed , click the Tick mark.
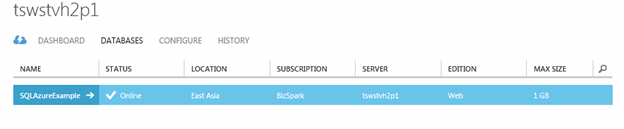
So now your database is created. In the next blog I am going to show you how to connect to the database that was just created using SSMS on your laptop .
Please Consider Subscribing