In this post we cover how to add an additional NIC card to our Azure VM. Most real world production environments have multiple NIC (Network cards) and quite a few applications depends on using dedicated NICs for scalability or even High Availability. In a previous post we covered how to add a VM to a Virtual Network now let’s assume that VM is being used for additional deployments and as a result we needed a new Network Interface Card for the same.
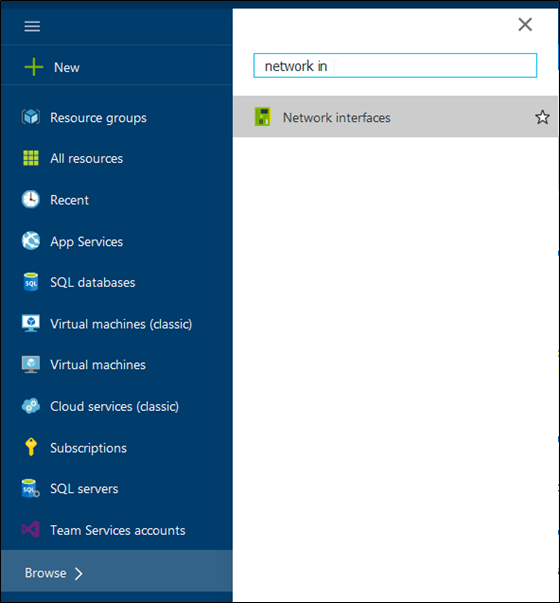
First visit the Azure portal and search for Network interface care in the search bar as shown below:-
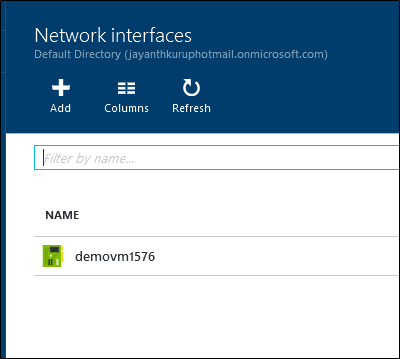
Click the link for network interface card to see the below blade and then press Add.
In the below screen we can configure the detail for this NIC card such as the security rules (Network security group) the subnet and the Resource Group it belongs to.
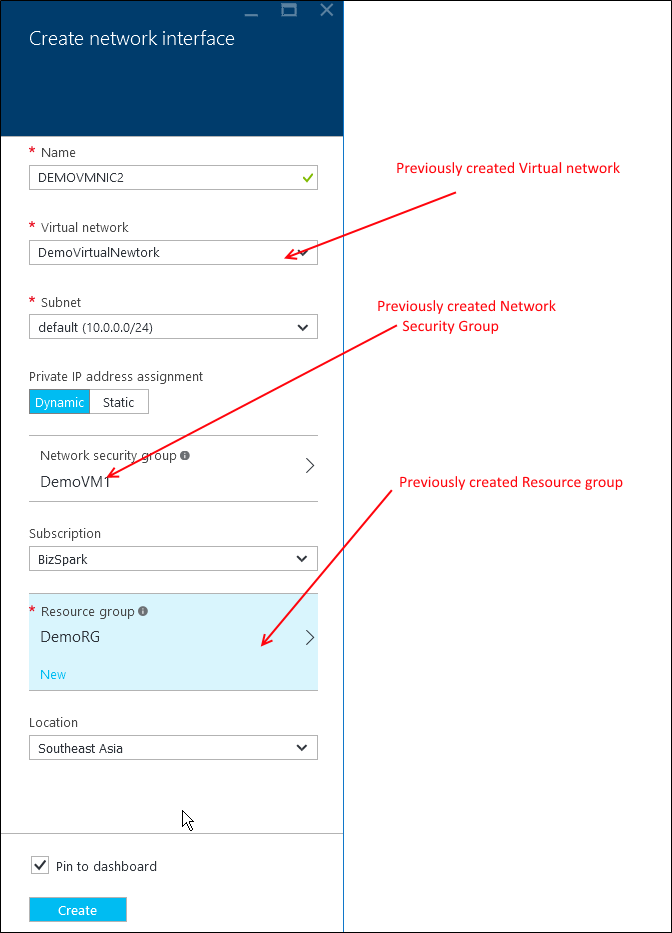
Once the above details are entered press Create to provision the new NIC card.
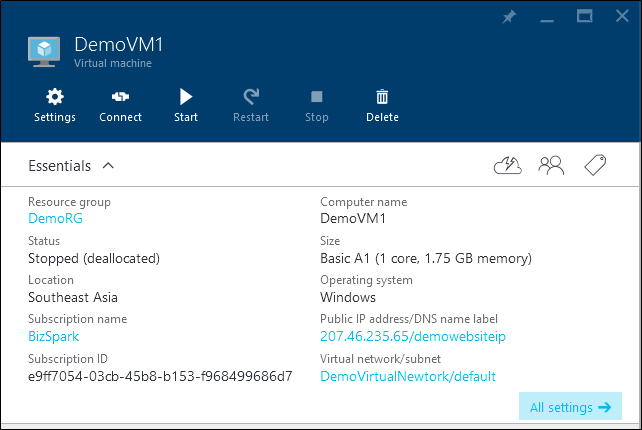
The next step is to assign the NIC card to a VM, so we navigate to the VM we want to add this NIC Card to and then press All Settings.
NOTE:- Not all VMs images support multiple NIC cards. For details see the references link.
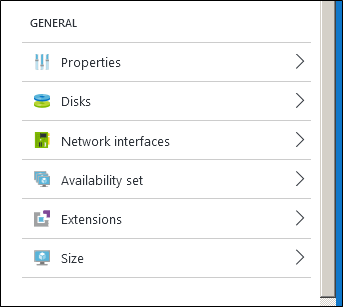
Under the general Tab press Network Interfaces
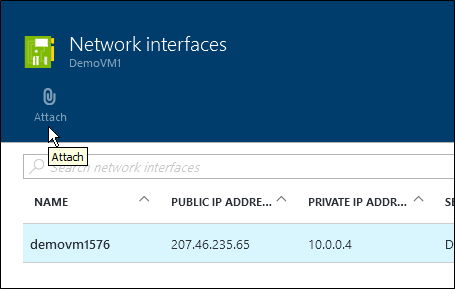
Identify the NIC you want to attach select it and the press Attach
References
https://azure.microsoft.com/en-in/documentation/articles/virtual-networks-multiple-nics/
Please Consider Subscribing