A resource group is a nice little feature that helps Azure Administrators stay organized when managing a large scale deployment. In its simplest sense it behaves like folders on your hard disk, it helps related resources stay together and be addresses by a common name. If a developer is working for multiple projects he might create a resource group for each project and then launch services within these resource groups. By doing so he automatically has the ability to view the history of deployments of services to this group as well as track the cost of each group separately. In most cases the developer is asked if he wants to add the service to a Resource group or create a new one. In this case we are going to create an empty resource group which we will use later.
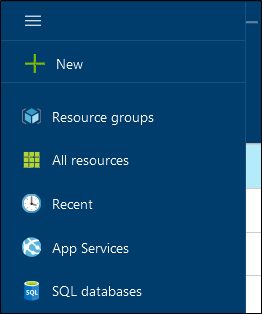
To get started simply search Resource group on the left hand side options of the Azure Management portal.
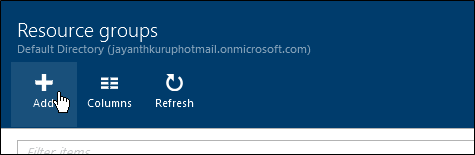
Click Add as shown below
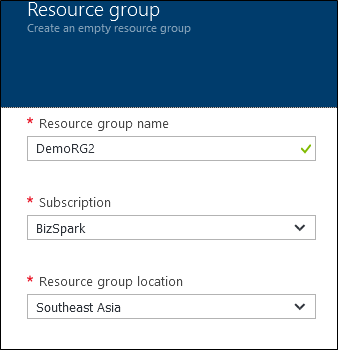
Give the resource Group a Name, try and use something that identifies the boundary of the resources properly like Prod_CompanyWebSite etc. and press Create
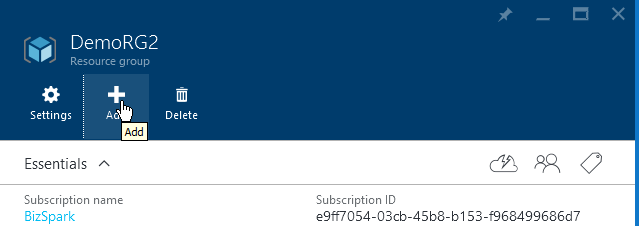
Once the resource group is created you can click Add and simply launch new services into it.
References
Configuring a Network Security group
Creating a Virtual machine In Azure
Creating a Virtual Network in Azure
Creating a Web App Role in Azure
Setting up Windows Authentication with Azure databases
Upgrading Azure database to V12
Exporting data from Azure databases
Querying Azure databases from the management portal
Configuring database firewall in Azure
Creating Azure database server and database
Please Consider Subscribing