In this post we cover how to configure the Network security group that was created by default when we set up the VM previously. The Network Security group is just a fancy way of saying Firewall. The NSG allows the user to configure which ports are open or closed within the Virtual network that was created earlier. This is good for us because a lot of the steps are similar to the way we configure firewall on our laptops etc.
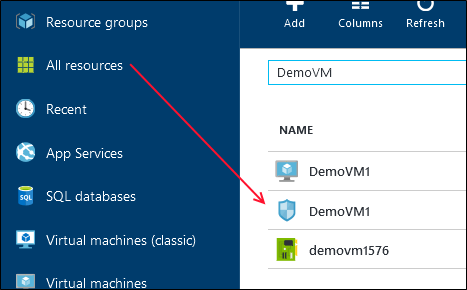
First we navigate to the Azure Management portal and click on All Resources and identify the Network Security Group (Shield) that was created.
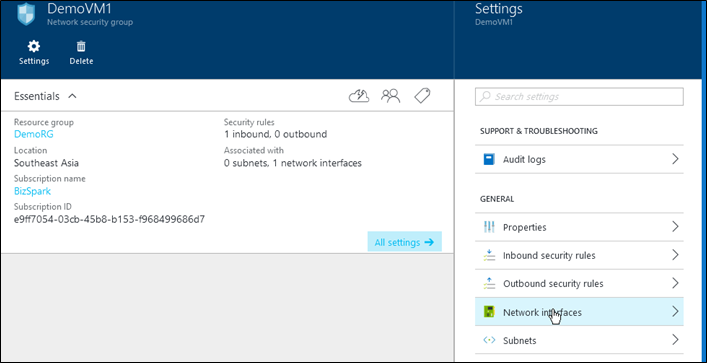
Once we click the required NSG, we click the Network Interfaces to see what devices (in this case VM) are using the current rule. This is useful in cases where a VM might have a public facing NIC and a private NIC each routing different types of traffic.
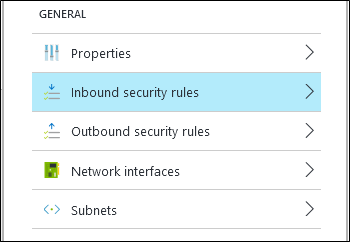
To allow incoming connection click inbound security rules, to configure outbound connections click outgoing Security rules. Regardless of which you choose the next steps are the same.
Next we configure the firewall rules
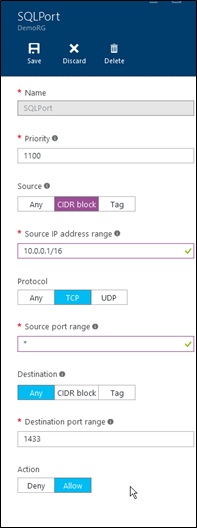
In the above screenshot we have configured the firewall to accept connections from any IP originating from the block of IP addresses 10.0.0.1/16 on any port number. These connection can then be routed to port number 1433 and are allowed. Notice you can also create rules to deny IP addresses from accessing certain ports. When your done click save and you have configured a firewall rule for your network and the VM hosted on it.
References
Creating a Virtual machine In Azure
Creating a Virtual Network in Azure
Creating a Web App Role in Azure
Setting up Windows Authentication with Azure databases
Upgrading Azure database to V12
Exporting data from Azure databases
Querying Azure databases from the management portal
Configuring database firewall in Azure
Creating Azure database server and database
Please Consider Subscribing