In this post I show how to get a new Public IP provisioned for use with Web applications from the Azure Management Portal. It all starts with an IP so let’s get started.
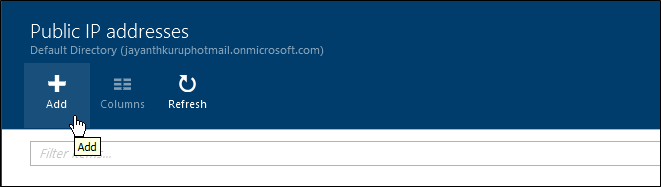
First click browse to see the services list and scroll down to Public IP Addresses

This will open a new windows and here on the Public IP addresses ribbon (the blue section on top) click Add.
Enter the details as shown below
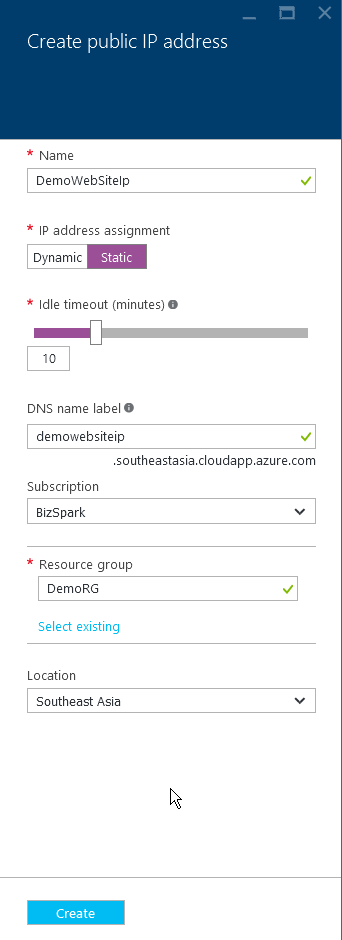 | -The name is for your reference -We need static IPs else the domain name will not always point to the correct IP after a change. -Choose an appropriate idle time out based on your application. -DNS label name is a unique name that is used to map this IP address with an Azure DNS cloud service. -The subscription within which this IP is provisioned -The Resource Group – a container for related Azure Resources. |
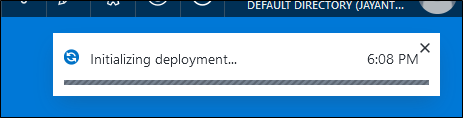
After pressing create you will see the below screen on the top right corner.
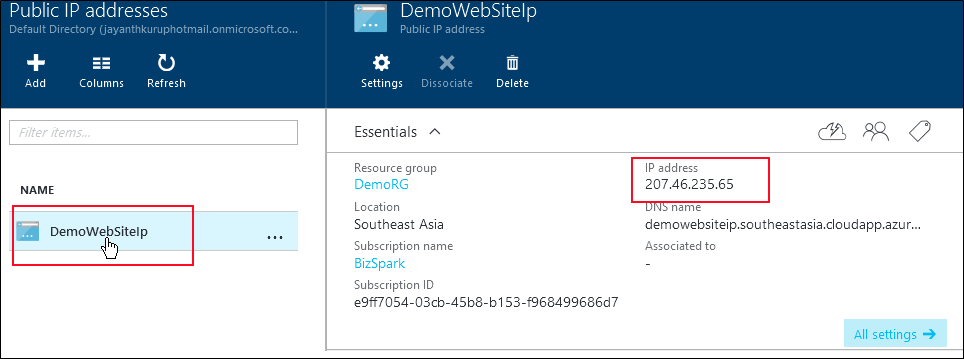
Once provisioned you will see the below screen where you can click the name of the Public IP Resource and see the IP A
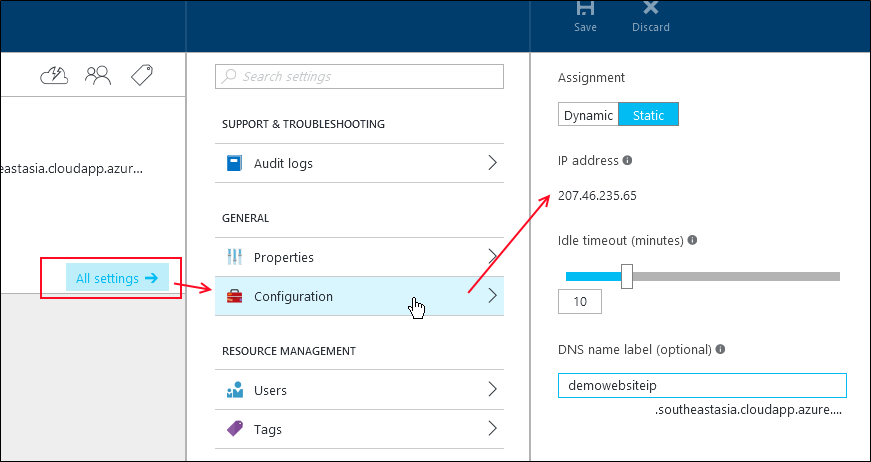
If you need to change any of the properties you can always click Settings as shown below
References
Creating a Virtual Network in Azure
Creating a Web App Role in Azure
Setting up Windows Authentication with Azure databases
Upgrading Azure database to V12
Exporting data from Azure databases
Querying Azure databases from the management portal
Configuring database firewall in Azure
Creating Azure database server and database
Please Consider Subscribing