Azure scheduler is a feature that allows users to schedule activities within Azure. Scheduler works by first creating job collections. This is a great way to automate the call of web services.
Creating the job

After clicking the create scheduler job the below screen appears
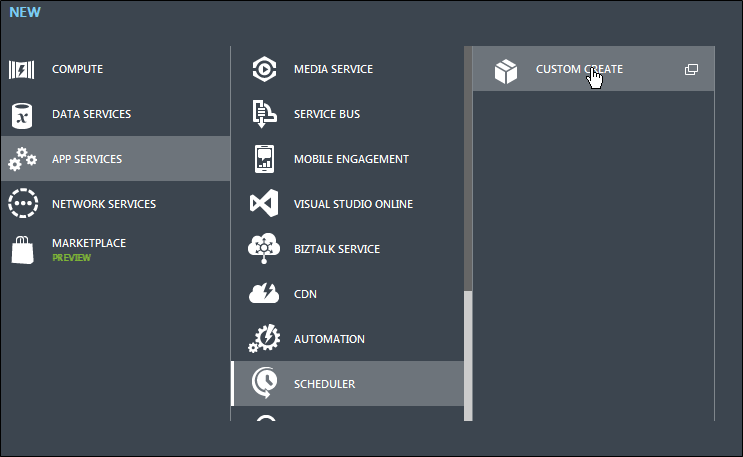
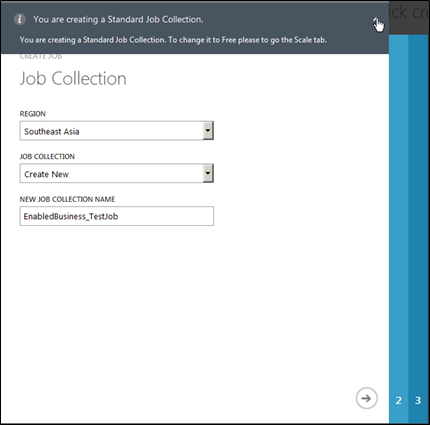
Click Custom Create, choose the region and give the job a name, notice that job collections are started as standard by default and can be changed to Free later.
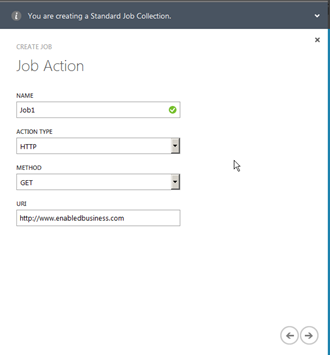
Press the next arrow and configure the Steps within the job
 | 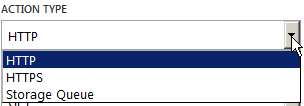 | 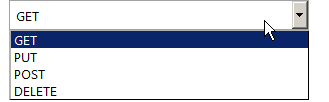 |
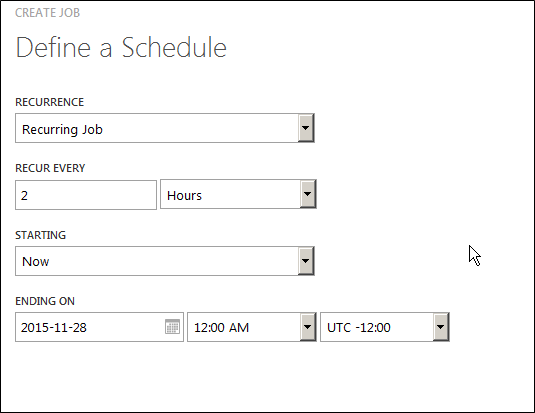
Press the Next button to visit the next screen, where you can define the schedule as one time or recurring as shown below.
Press the Finish button the start creating the job.
Changing the job to Free
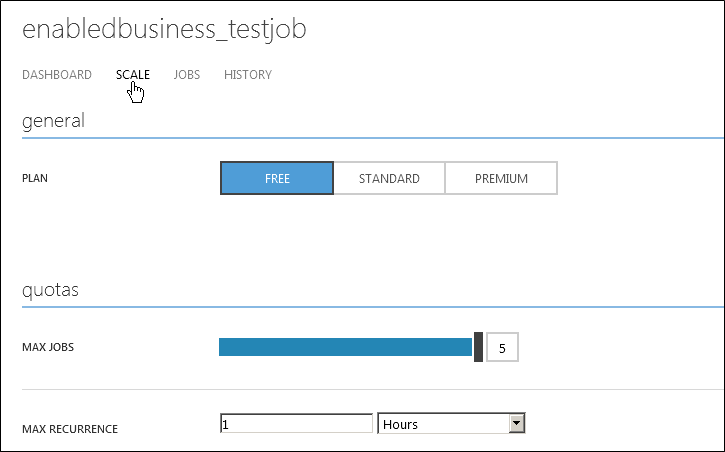
Select the job collection from the list

Select Scale from the menu and change the job to free. The maximum limit for recurring job is once per hour for Free tier which means the job can run at most once per hour.
Once changed press Save at the bottom
And Confirm by pressing Yes.

Viewing the Job History
Click the History option from the Menu, select the Job from the drop down list and status as needed. 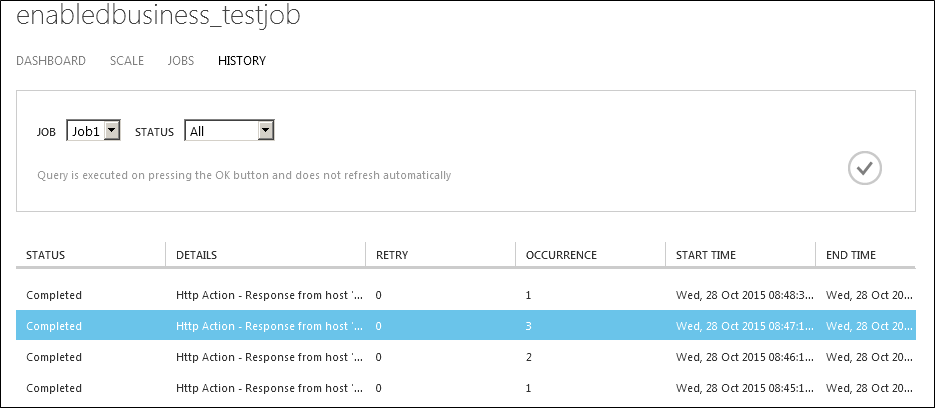
Clicking the job history enables the View History details button at the bottom of the screen, clicking the View history details will display any errors or message from the request.

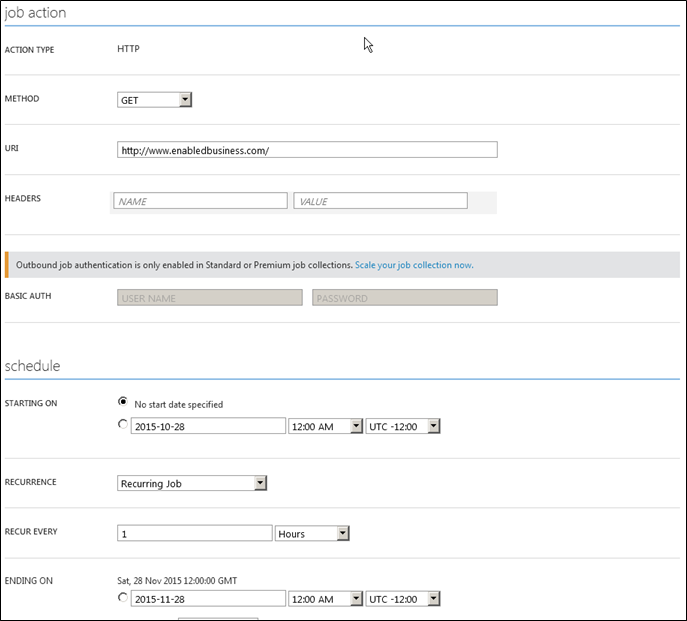
Modify a Schedule
Select the job collection and then select Jobs from the menu

Select the job you want to modify and then it will open a page where all the properties for the job can be modified.
Please Consider Subscribing